View Active and Inactive Processes
ProcessMaker Platform displays all active and inactive Processes in one table that Process Designers have created throughout your organization. This makes it easy to manage your Processes. A Process can have one of these status:
Active
 : The Active status indicates that new Requests of the Process can be started and in-progress Requests can be completed. Moreover, Process Designers can edit the Process as needed. Changes made to an active Process are reflected in new Requests only and any in-progress Requests are not affected.
Inactive
 : The Inactive status indicates that new Requests of the Process can not be started. In-progress Requests can complete; they are not affected. Moreover, Process Designers can edit the Process as needed.
Archived
 : The Archived status indicates that new Requests of the Process can not be started. In-progress Requests can complete; they are not affected. However, Process Designers cannot edit the Process until it is restored.
Permissions
Your user account or group membership must have the "Processes: View Processes" permission to view the list of Processes unless your user account has the Make this user a Super Admin setting selected.
See the Processes permissions or ask your Administrator for assistance.
Looking for Archived Processes?
Click the Archived Processes tab to view archived Processes.
Follow these steps to view all active and inactive Processes in your organization:
Ensure that you are logged on to ProcessMaker Platform.
Click the Designer option from the top menu. The Designer Welcome Screen displays.
Do one of the following:
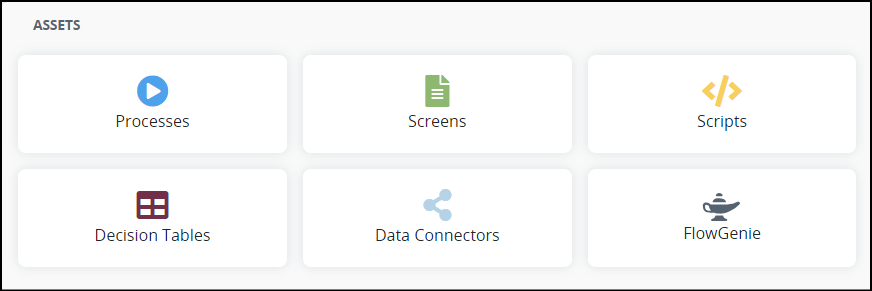
From the Assets pane in the Designer Welcome Screen, mouse-hover over the Processes icon, and then select View All Processes.
Click the Processes icon
 from the left sidebar. The Processes tab displays all active Processes in the Processes page.
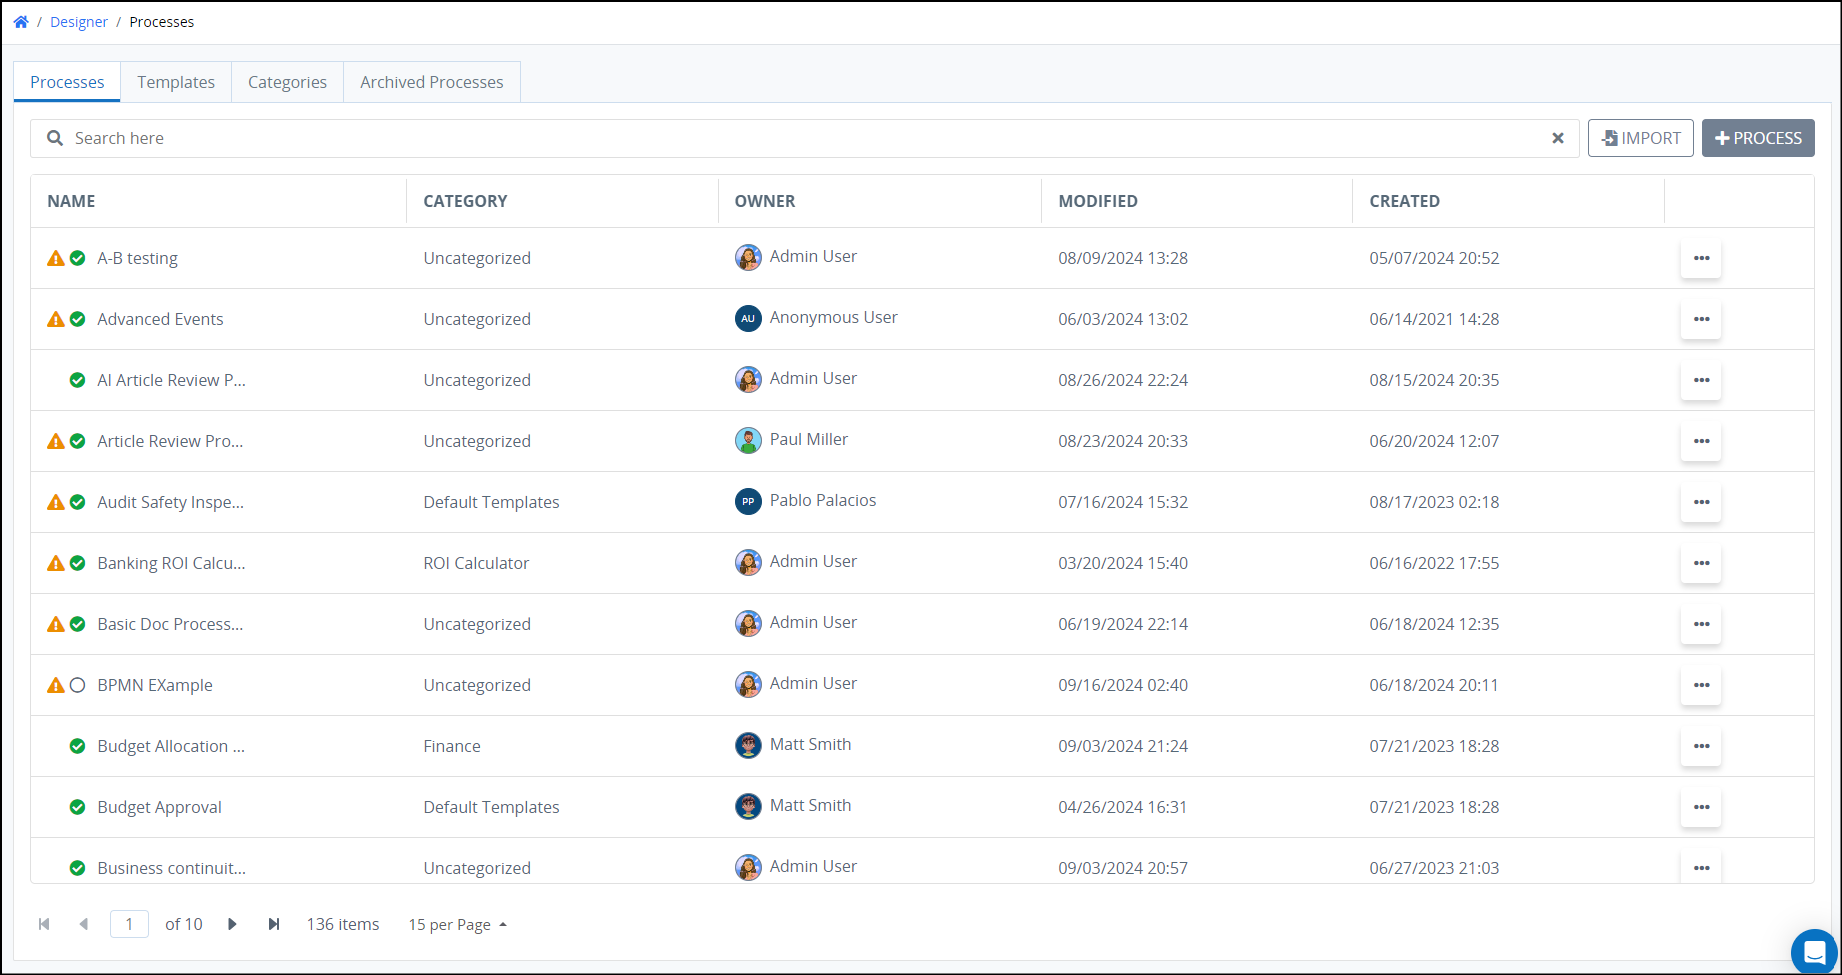
The Processes tab displays the following information in tabular format about active and inactive Processes:
Name: The Name column displays the Process name. If the Process is not configured correctly, such as with a Process Manager, then the following icon displays preceding the process name:
 . The Name column also displays an icon indicating the status of the Process and can have these values:
Active
: The Active status indicates that new Requests of this Process can be started. Inactive
: The Inactive status indicates that no new Requests of this Process can be started. In-progress Requests can complete; they are not affected.
Category: The Category column displays in which Process Category the Process is assigned.
Owner: The Owner column displays the Process Owner who maintains the Process. Hover your cursor over a user's avatar to view that person's full name.
Modified: The Modified column displays the date and time the Process was last modified. The time zone setting to display the time is according to the ProcessMaker Platform instance unless your user profile's Time zone setting is specified.
Created: The Created column displays the date and time the Process was created. The time zone setting to display the time is according to the ProcessMaker Platform instance unless your user profile's Time zone setting is specified.
Edit an Existing Process
Your user account or group membership must have the following permissions to edit a Process unless your user account has the Make this user a Super Admin setting selected:
Processes: Edit Processes
Processes: View Processes
See the Processes permissions or ask your Administrator for assistance.
Follow these steps to edit a Process:
Enter the process name in Search setting to filter processes using any of the following criteria:
Name: Filter by the Process name that displays in the Name column.
Category: Filter by the Process Category name that displays in the Category column.
Owner: Filter by the Process Owner's full name that displays in the Owner column.
Click the
 menu next to a process, and then select the Open in Modeler option to open the process for editing in the Process Modeler.
Search for a Process
Use the Search setting to filter Processes that display.
Create a Process
Click the +Process button. See Create a New Process.
Import a Process
Click the Import button. See Import a ProcessMaker Platform Process.
Edit a Process
Click the
Save a Process as a Template
Click the
Save a Process as a PM Block
Click the
Add a Process to a Project
Click the
Configure a Process
Click the
View Documentation for a Process
Click the
Export a Process
Click the
Archive a Process
Click the
Pause or Resume All Start Timer Events in a Process
Click the
Click the
No Processes?
If no active Processes exist, the following message displays: No Results.
Display Information the Way You Want It
Control how tabular information displays, including how to sort columns or how many items display per page.
Go to Home
Click Home go to the Request Participant Home Screen.