View Your Profile Information
Follow these steps to view details of your profile:
Log on to ProcessMaker Platform.
Click your user avatar. Your user name displays in the View Profile option.
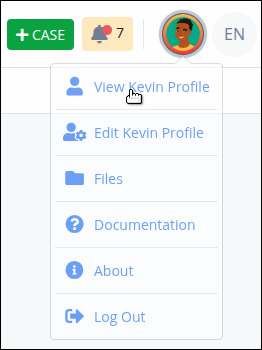
Select View Profile to view the Profile page. That person's profile information displays.
View Another User's Profile Information
Permissions
Your user account or group membership must have the following permission to view another user's profile unless your user account has the Make this user a Super Admin setting selected:
Users: View Other Users Profiles
See the Users permissions or ask your Administrator for assistance.
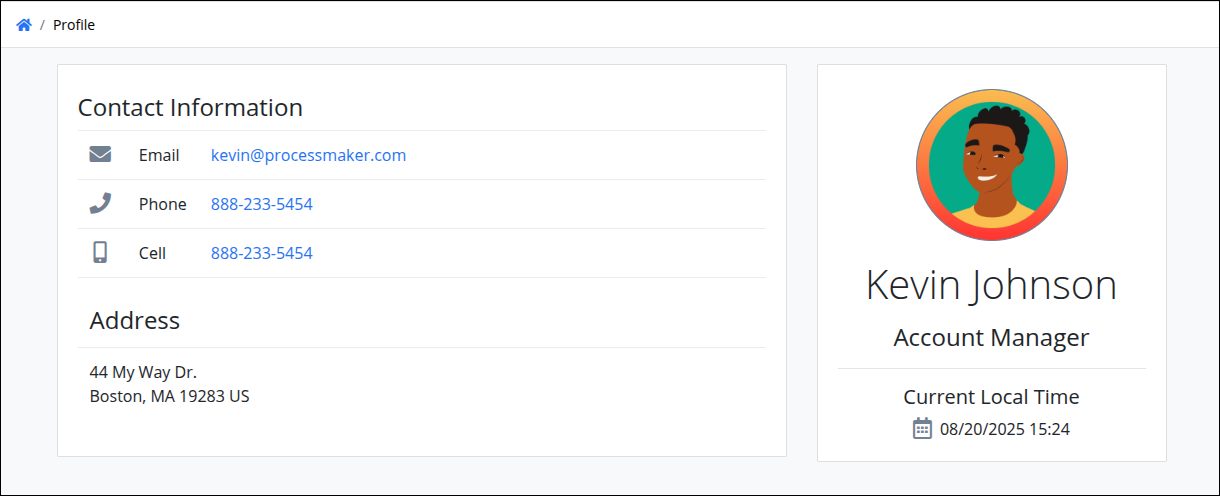
To view another user's profile information such as in the Case list, click that person's avatar..png)
After clicking the avatar, that person's profile information displays..png)
Hover your cursor over a user's avatar to view that person's full name.
Edit Your Profile Information
Permissions
Your user account or group membership must have the following permission to edit user's profile unless your user account has the Make this user a Super Admin setting selected:
Users: Edit Personal Profile
See the Users permissions or ask your Administrator for assistance.
Follow these steps to access and edit your profile settings:
Log on to ProcessMaker Platform.
Click your user avatar. Your user name displays in the Edit Profile option.
.png)
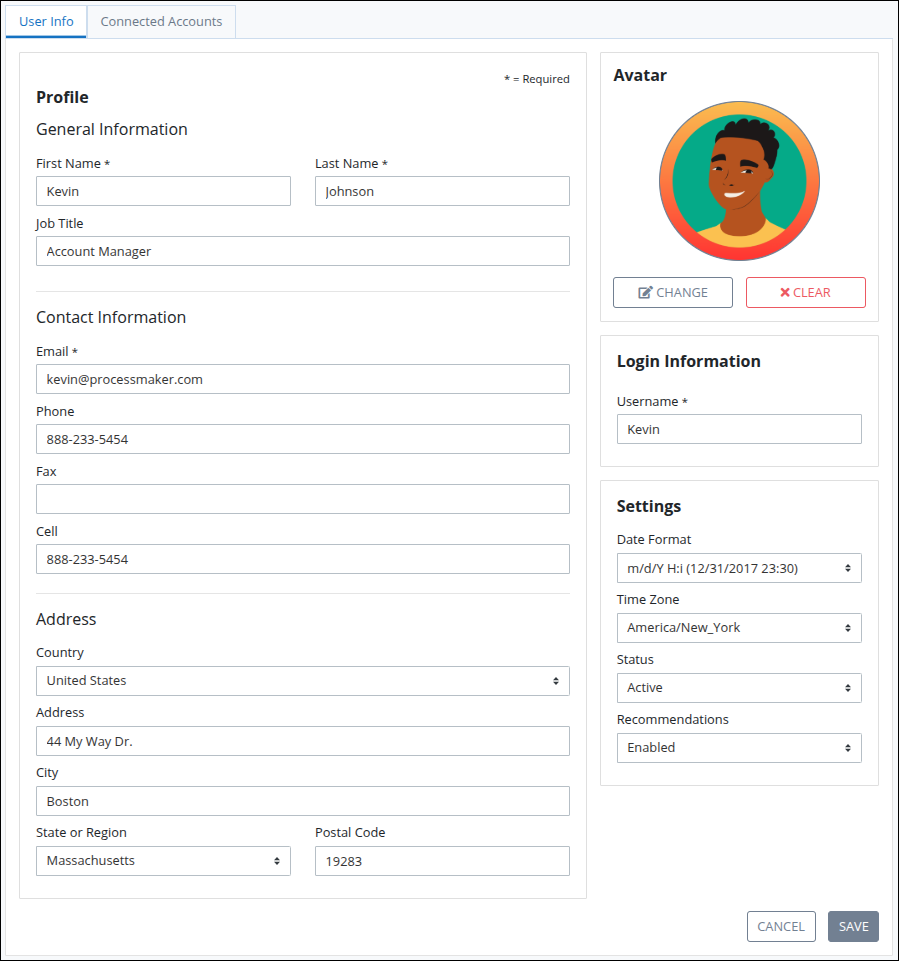
Select Edit Profile to view the User Info tab.
Change Your Profile Settings
Your user profile contains the following sections that determine how your user is represented:
General and Contact Information
Follow these steps to change your profile information:
Log on to ProcessMaker Platform.
Click your avatar at the top-right to access account options.
Select Edit Profile to view the User Info tab.
Locate the Profile section.
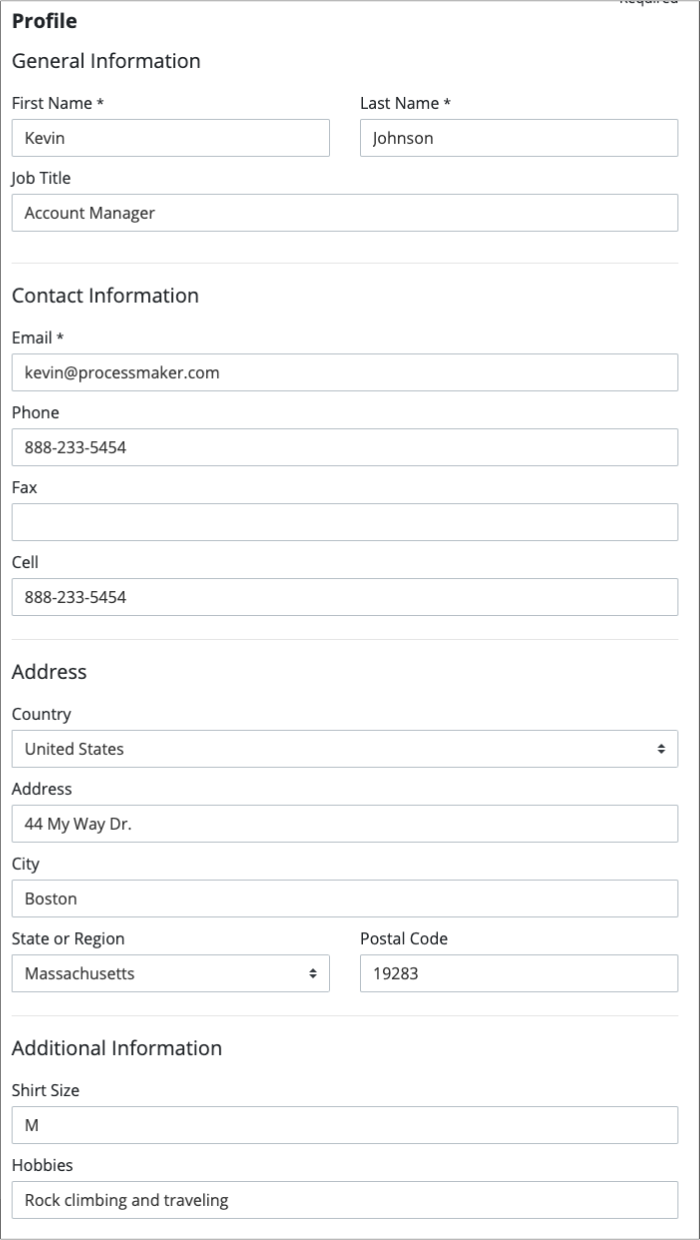
Change the following General Information settings as necessary:
In the First Name setting, enter your first name. This is a required setting.
In the Last Name setting, enter your last name. This is a required setting.
In the Job Title setting, enter the job title or description you have in your organization.
Change the Contact Information settings as necessary:
In the Email setting, enter your business email address. Your email address displays to other users who view your profile information. This is a required field.
Note:
Email address for users created via SAML synchronization cannot be edited manually.
Additionally, if a user has integrated their account with Slack notifications, the connection is tied to their original email address. Changing the user's email does not automatically update the Slack integration. In this case, an administrator should remove and reconfigure the Slack Notification connector using the new email address
Confirm Identity
To prevent unauthorized changes to your account, a confirmation modal appears when saving data, requiring you to verify your identity with your current password before updating your email.

In the Phone setting, enter your business telephone number.
In the Fax setting, enter your fax number.
In the Cell setting, enter your cell number.
Change the Address settings as necessary:
From the Country drop-down menu, select the country for your business address.
In the Address setting, enter your business address.
In the City setting, enter the city for your business address.
In the State or Region setting, enter the state, region, or province for your business address.
In the Postal Code setting, enter your business postal code.
Click Save.
Change Your User Avatar
Your avatar is your visual identity in the Platform. Here are some of the ways it represents you:
If no avatar is set in your user profile, the system displays the initials of your full name instead.
Follow these steps to change your user avatar:
Edit your profile and locate the Avatar section.
Do one of the following:
Upload an avatar: If there is no avatar uploaded, click the Upload Avatar button and continue to step 4.
Change an avatar: Select the Change button to upload a new avatar image. Continue to step 4.
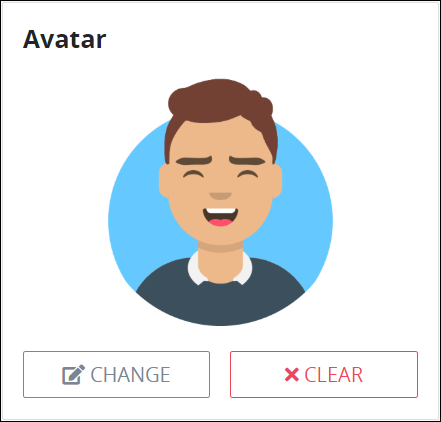
Remove the current avatar: Click the Clear button to remove an uploaded avatar.
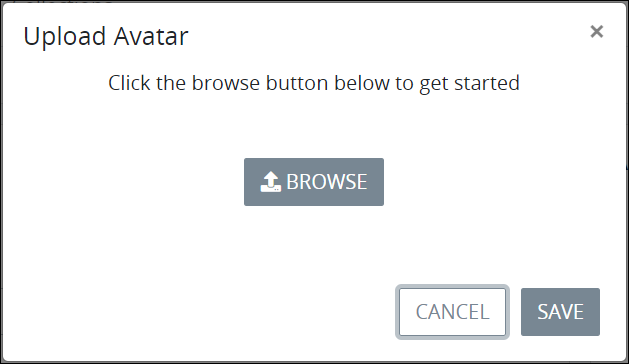
From the Upload Avatar screen, click the Browse button to locate the image to set as your avatar.
Adjust the size of the image using the image size indicator
 , and then click Save.
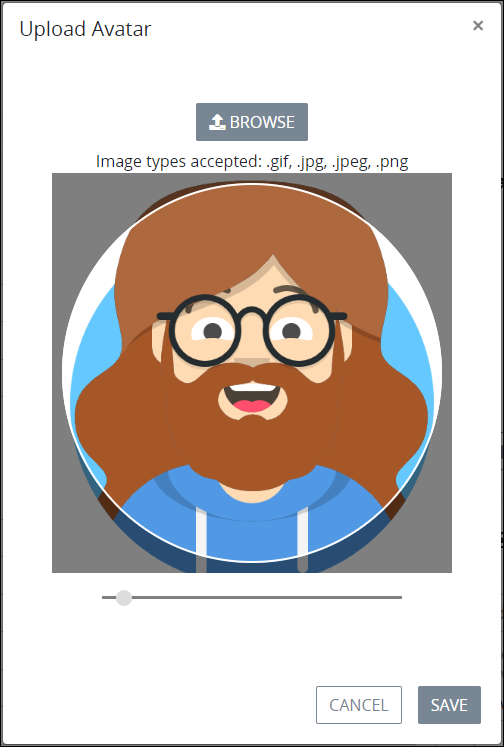
Click Save to save the profile.
Change Your Login Information
Usernames and passwords must adhere to the following protocol:
Aside from alphanumeric characters, ProcessMaker Platform allows only the following characters in usernames:
commercial at (
@)hyphen (
-)period (
.)plus (
+)underscore (
_)Passwords must be at least eight (8) characters long, must contain at least one uppercase letter and a number or symbol. Password special characters are recommended.
Follow these steps to change your login information:
Edit your profile and locate the Login Information section.
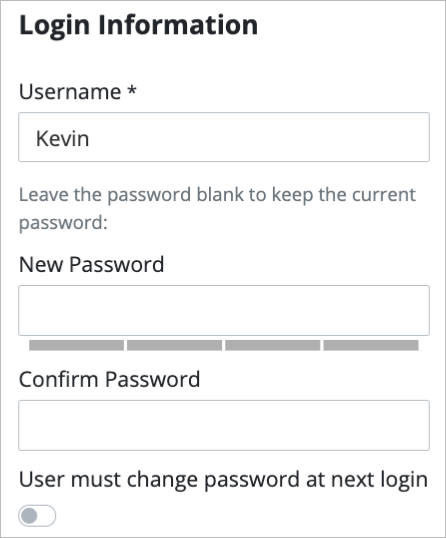
In the Username setting, change your username if necessary. Aside from alphanumeric characters, ProcessMaker Platform allows only the following characters in usernames:
commercial at (
@)hyphen (
-)period (
.)plus (
+)underscore (
_)
In the New Password setting, enter your new password. Leave the New Password setting blank to keep the current password. Passwords must be at least eight (8) characters long, must contain at least one uppercase letter and a number or symbol. Password special characters are recommended.
In the Confirm Password setting, reenter your password.
Click Save. The following message displays: Your profile was saved.
Change Your Profile Settings
Follow these steps to change your settings:
Edit your profile and locate the Settings section.

In the Date Format drop-down menu, select the format of how dates are displayed.
From the Time Zone drop-down menu, select your preferred time zone.
From the Status drop-down menu, select the status of the user account:
Active: The user can log in and access the ProcessMaker Platform.
Inactive: The user cannot log in or access the ProcessMaker Platform.
From the Recommendations drop-down menu, select the Disabled option to prevent the user from receiving task recommendations. For more information about recommendations, see Recommendations Engine.
Click Save.