Use the Google Places to allow Request participants to do the following in Form-type Screens:
Start entering an address, location, or business name into a Screen control, then allow the Google API to auto-complete that address or location. The Google Place control stores the selected address in the Request data as well as all the returned data from the Google API.
View and/or select from one or more geographical locations in a Google map.
This control is only available for Form-type Screens. See Screen Types.
Below are a few ways to use the Google Places control:
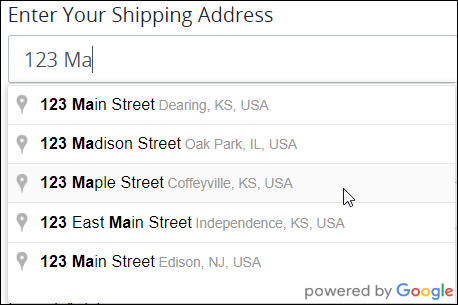
Allow Request participants to easily enter a shipping or billing address.
Enter a business name into the Google Places control to select a business location.
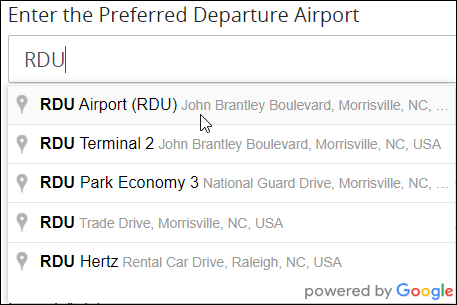
Enter well-known monuments or international airport names to get their addresses or locations when requesting to travel.
Add the Control to a Screen
Permissions
Your user account or group membership must have the following permissions to design a Screen unless your user account has the Make this user a Super Admin setting selected:
Screens: Edit Screens
Screens: View Screens
See the Screens permissions or ask your Administrator for assistance.
Follow these steps to add this control to the Screen:
From the Controls Menu on the left, expand the Advanced category, and then locate the Google Places icon
 .
.Drag and drop the control to the Screen Builder canvas. Existing controls in the Screen will adjust positioning based on where you drag the control.
Configure the Google Places control. See Settings.
Validate that the control is configured correctly. See Validate Your Screen.
The following screen uses a Google Places control where you can enter the work location for an employee offer.
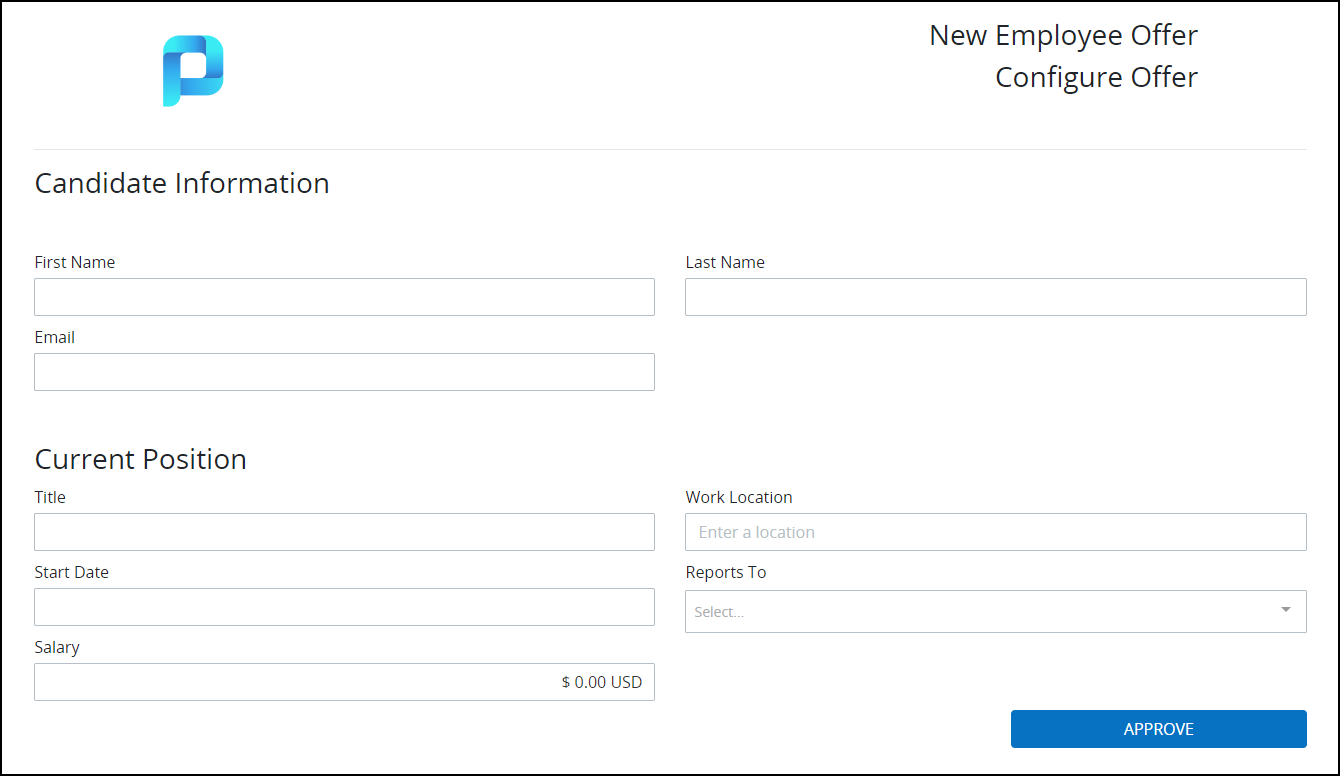
Google Places control
Settings
The Google Places control has the following configurable settings in the Properties Panel:
Variable Panel Settings
Expand the Variable panel from the Properties Panel on the right to configure the following properties:
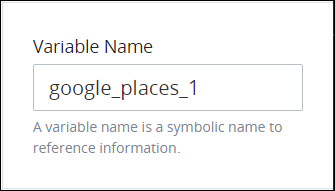
Variable Name
Edit the default Variable Name setting value for this control if necessary. The Variable Name setting value represents data in this control during Requests. Ensure that the Variable Name setting value is a unique name from other controls in this Screen and contains at least one letter. This is a required setting.
Use the Variable Name setting value in the following ways:
Reference this control by its Variable Name setting's value. The Data Preview panel in Preview mode corresponds the Google Places control's textual content with that Google Places control's Variable Name value. In the example below,
google_places_1is the Variable Name setting's value.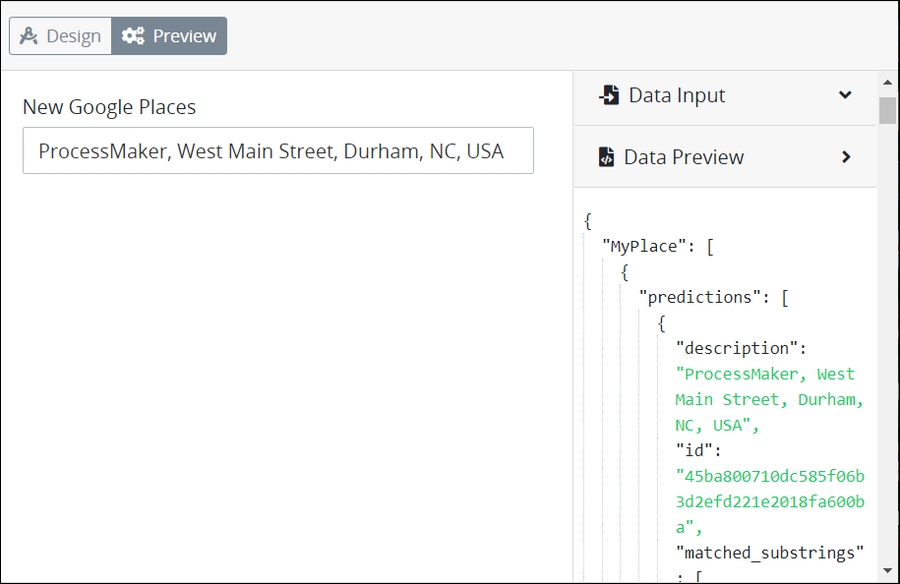
Reference this control's value in a different Screen Builder control. To do so, use mustache syntax and reference this control's Variable Name value in the target control. Example:
{{ google_places_1 }}. See Reference Request Data from the Google Places Control in Other Controls.Reference this value in Visibility Rule setting expressions.
See best practices when editing a Request variable name.
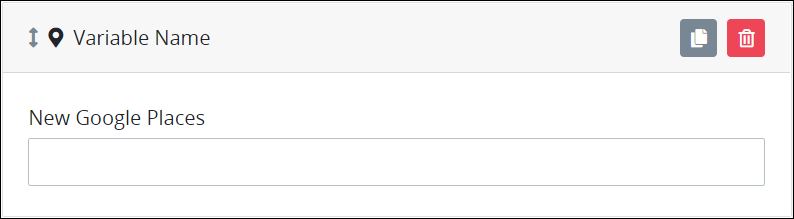
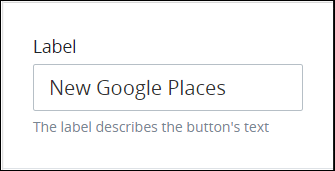
Label
Edit the default label that displays for this control if necessary. New Google Places is the default value.
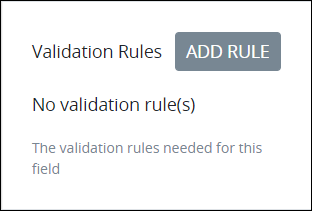
Validation Rules
Enter the validation rule(s) the Request participant must comply with to properly enter a valid value into this control. This setting has no default value. If there are no configured validation rules the following message displays: No validation rule(s). See Validation Rules for "Validation" Control Settings.
Follow these steps to edit a validation rule for this control:
Access the Variable panel for this control while in Design mode, and then locate the Validation Rules setting.
Click the Add Rule button. The Select drop-down menu displays.
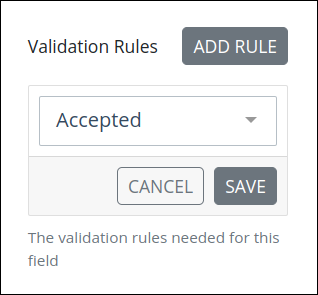
Select the rule that this control validates against.
Click Save. Parameters for the selected rule display. Parameter settings display which ones are required to properly configure the rule.
Enter the parameter settings that this control uses to validate against. See Validation Rule Settings, and then locate the validation rule for its parameters.
Follow these steps to edit a validation rule for this control:
Access the Variable panel for this control while in Design mode, and then locate the Validation Rules setting.
Click the Edit icon
 for the validation rule to edit if that rule can be edited. Validation rules that do not have parameters cannot be edited. The parameter settings for that validation rule displays.
Edit the parameter settings that this control uses to validate against. See Validation Rule Settings, and then locate the validation rule for its parameters.
Follow these steps to delete a validation rule for this control:
Access the Variable panel for this control while in Design mode, and then locate the Validation Rules setting.
Click the Delete icon
 for the validation rule to delete. A message displays to confirm deletion of the validation rule.
Click Delete.
Configuration Panel Settings
Expand the Configuration panel from the Properties Panel on the right to configure the following properties:
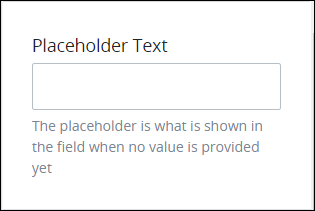
Placeholder Text
Enter the placeholder text that displays in this control when no value has been provided. This setting has no default value.
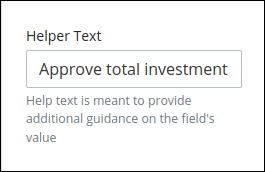
Helper Text
Enter text that provides additional guidance on this control's use. This setting has no default value.
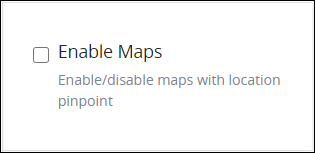
Enable Maps
Select to enable Google Maps in this Screen. This setting is disabled by default.
The following settings are available below the Enable Maps setting to configure the Google Map settings and the map's geographical location when the map displays:
Hide Address Input
Hide the address bar that displays above the map to enter an address to display in the map. This setting is disabled by default to display the address bar. Note that this setting is not available unless the Enable Maps setting is selected.

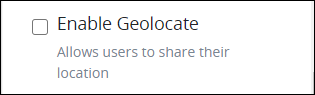
Enable Geolocate
Allow the Request participant to select a location in the map. When this setting is disabled, the Center Map setting is available to enter the geo-location by longitude and latitude to center the map view. The Enable Geolocate setting is disabled by default. Note that the Enable Geolocate setting is not available unless the Enable Maps setting is selected.
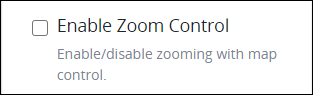
Enable Zoom Control
Displays the zoom controls in the lower-right of the map view used to zoom into and out of the map view. This setting is disabled by default to hide the zoom controls. Note that this setting is not available unless the Enable Maps setting is selected.
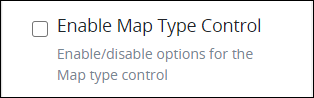
Enable Map Type Control
Displays the Map or Satellite options in the upper-left of the map view used to toggle between viewing the map or the satellite image of the viewing area. This setting is disabled by default to display the Map options. Note that this setting is not available unless the Enable Maps setting is selected.
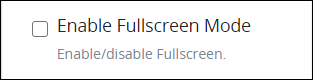
Enable Fullscreen Mode
Displays the control in the upper-right of the map view to toggle full screen mode. This setting is disabled by default to hide this control. Note that this setting is not available unless the Enable Maps setting is selected.
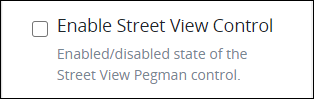
Enable Street View Control
Displays the Street View Pegman control to view the street view of the displayed map area. This setting is disabled by default to hide this control. Note that this setting is not available unless the Enable Maps setting is selected.
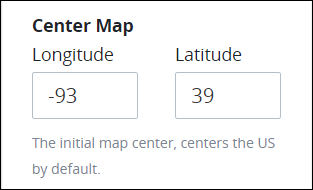
Center Map
Displays the center geographical location of the map view by longitude and latitude coordinates. The default longitude and latitude coordinates are -93 by 39. Note that this setting is not available unless the Enable Maps setting is selected and the Enable Geolocate setting is not selected.
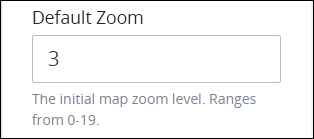
Default Zoom
Sets the initial map zoom level that ranges from 0 (no zoom) to 19 (maximum zoom). The default zoom setting is 3. Note that this setting is not available unless the Enable Maps setting is selected.
Design Panel Settings
Expand the Design panel from the Properties Panel on the right to configure the following properties:
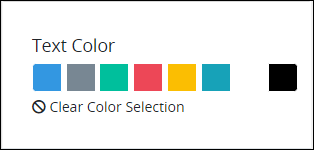
Text Color
Select the text color that displays for this control. Optionally, click the Clear Color Selection option to remove the selected color.
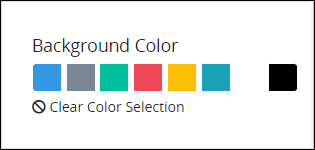
Background Color
Select the background color that displays for this control. Optionally, click the Clear Color Selection option to remove the selected color.
Advanced Panel Settings
Expand the Advanced panel from the Properties Panel on the right to configure the following properties:
Visibility Rule
Specify an expression that indicates the condition(s) under which this control displays. See Expression Syntax Components. If this setting does not have an expression, then this control displays by default.
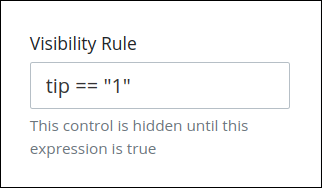
For example, this control displays if the variable value tip is 1. For a detailed example of the Visibility Rule setting, see Show or Hide Controls Based on Button Selection.
Note the following regarding how to use visibility rules:
To make this control hidden until another control contains a value, enter the Variable Name setting value of that control to this control's Visibility Rule setting.
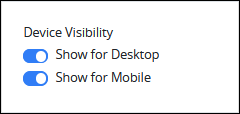
Device Visibility
Select on which device types this control displays:
Desktop: The control displays only on desktop devices. Enable the Show for Desktop toggle key.
Mobile: The control displays only on mobile devices. Enable the Show for Mobile toggle key.
Both: The control displays on both desktop and mobile devices. Both toggle keys are enabled by default.
CSS Selector Name
Enter the value to represent this control in custom CSS syntax when in Custom CSS mode. As a best practice, use the same CSS Selector Name value on different controls of the same type to apply the same custom CSS style to all those controls.
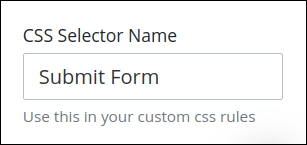
Then, use this name in the Custom CSS feature to apply CSS styling to this control as follows:
[selector='Submit Form'] {
    color: blueviolet;
}
See the following best practices regarding custom CSS in Screens:
Reference Request Data from the Google Places Control in Other Controls
The Google Places control receives its source data from the Google API response after the Request participant selects an address or location. The Google Places control stores the entire JSON data object that the Google API returns in the Request data. See the Google JSON API response key name descriptions to determine how to use JSON key name values in the response for Request data.
Review the Google's JSON API response often as Google revises it often and without notice.
Follow these guidelines to reference JSON object key names and/or arrays from Google's returned data object in other Screen controls.
Reference the Entire Selected Address or Location
Reference the following JSON key name for the entire selected address or location that includes the entire value in the Google Places control as indicated in JSON dot notation:
variable_name.0.result.0.address_componentsvariable_name represents the Variable Name setting value for the Google Places control being referenced.
Example of the Entire Selected Address or Location
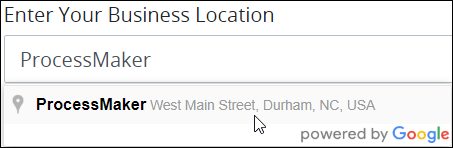
Below is the Google Places control selection for this example. The Google Places control's Variable Name setting value is the default google_places_1.
If a Rich Text control references this Google Places control's entire selected address, use the following syntax in the Rich Text control's content using mustache syntax:
{{ google_places_1.0.result.0.address_components }}Reference the Main Text for the Selected Address or Location
Reference the following JSON key name for the main text for the selected address or location as indicated in JSON dot notation:
variable_name.0.result.0.address_components.0.long_namevariable_name represents the Variable Name setting value for the Google Places control being referenced.
The Rich Text control displays the following during a Request:
"ProcessMaker"Example of the Main Text for the Selected Address or Location
Below is the Google Places control selection for this example. The Google Places control's Variable Name setting value is the default google_places_1.
If a Rich Text control references this Google Places control's main text for the selected address, use the following syntax in the Rich Text control's content using mustache syntax:
{{ google_places_1.0.result.0.address_components.0.long_name }}The Rich Text control displays the following during a Request:
"ProcessMaker"Reference the Secondary Text for the Selected Address or Location
Reference the following JSON key name for the secondary text for the selected address or location as indicated in JSON dot notation:
variable_name.0.result.0.address_components.0.formatted_addressvariable_name represents the Variable Name setting value for the Google Places control being referenced.
The Rich Text control displays the following during a Request:
"West Main Street, Durham, NC, USA"Example of the Secondary Text for the Selected Address or Location
Below is the Google Places control selection for this example. The Google Places control's Variable Name setting value is the default google_places_1.
If a Rich Text control references this Google Places control's secondary text for the selected address, use the following syntax in the Rich Text control's content using mustache syntax:
{{ google_places_1.0.result.0.address_components.0.formatted_address }}The Rich Text control displays the following during a Request:
"West Main Street, Durham, NC, USA"Reference the Place Type(s) for the Selected Address or Location
Reference the following JSON array for the place type(s) for the selected address or location as indicated in JSON dot notation:
variable_name.0.result.0.address_components.0.typesvariable_name represents the Variable Name setting value for the Google Places control being referenced.
The Rich Text control displays the following during a Request:
"point_of_interest", "establishment"Example of the Secondary Text for the Selected Address or Location
Below is the Google Places control selection for this example. The Google Places control's Variable Name setting value is the default google_places_1.
If a Rich Text control references this Google Places control's secondary text for the selected address, use the following syntax in the Rich Text control's content using mustache syntax:
{{ google_places_1.0.result.0.address_components.0.types }}The Rich Text control displays the following during a Request:
"point_of_interest", "establishment"