View All Genies
Permissions
Your user account or group membership must have the "FlowGenies: View FlowGenies" permission to view and search for FlowGenies unless your user account has the Make this user a Super Admin setting selected.
See the FlowGenie permissions or ask your Administrator for assistance.
Easily access and manage all Genies from the Designer Welcome Screen. Genies can be added to any process and are conveniently displayed in one place to simplify asset management. Follow these steps to view all Genies in your organization:
Log on to ProcessMaker Platform.
Click the Designer option from the top menu to view the Designer Welcome Screen.
Do one of the following:
From the Designer Welcome Screen, hover over the FlowGenie icon
.png "image(119).png") , and then select View All Genies.
, and then select View All Genies.Click the FlowGenie icon
.png "image(120).png") from the left sidebar.
from the left sidebar.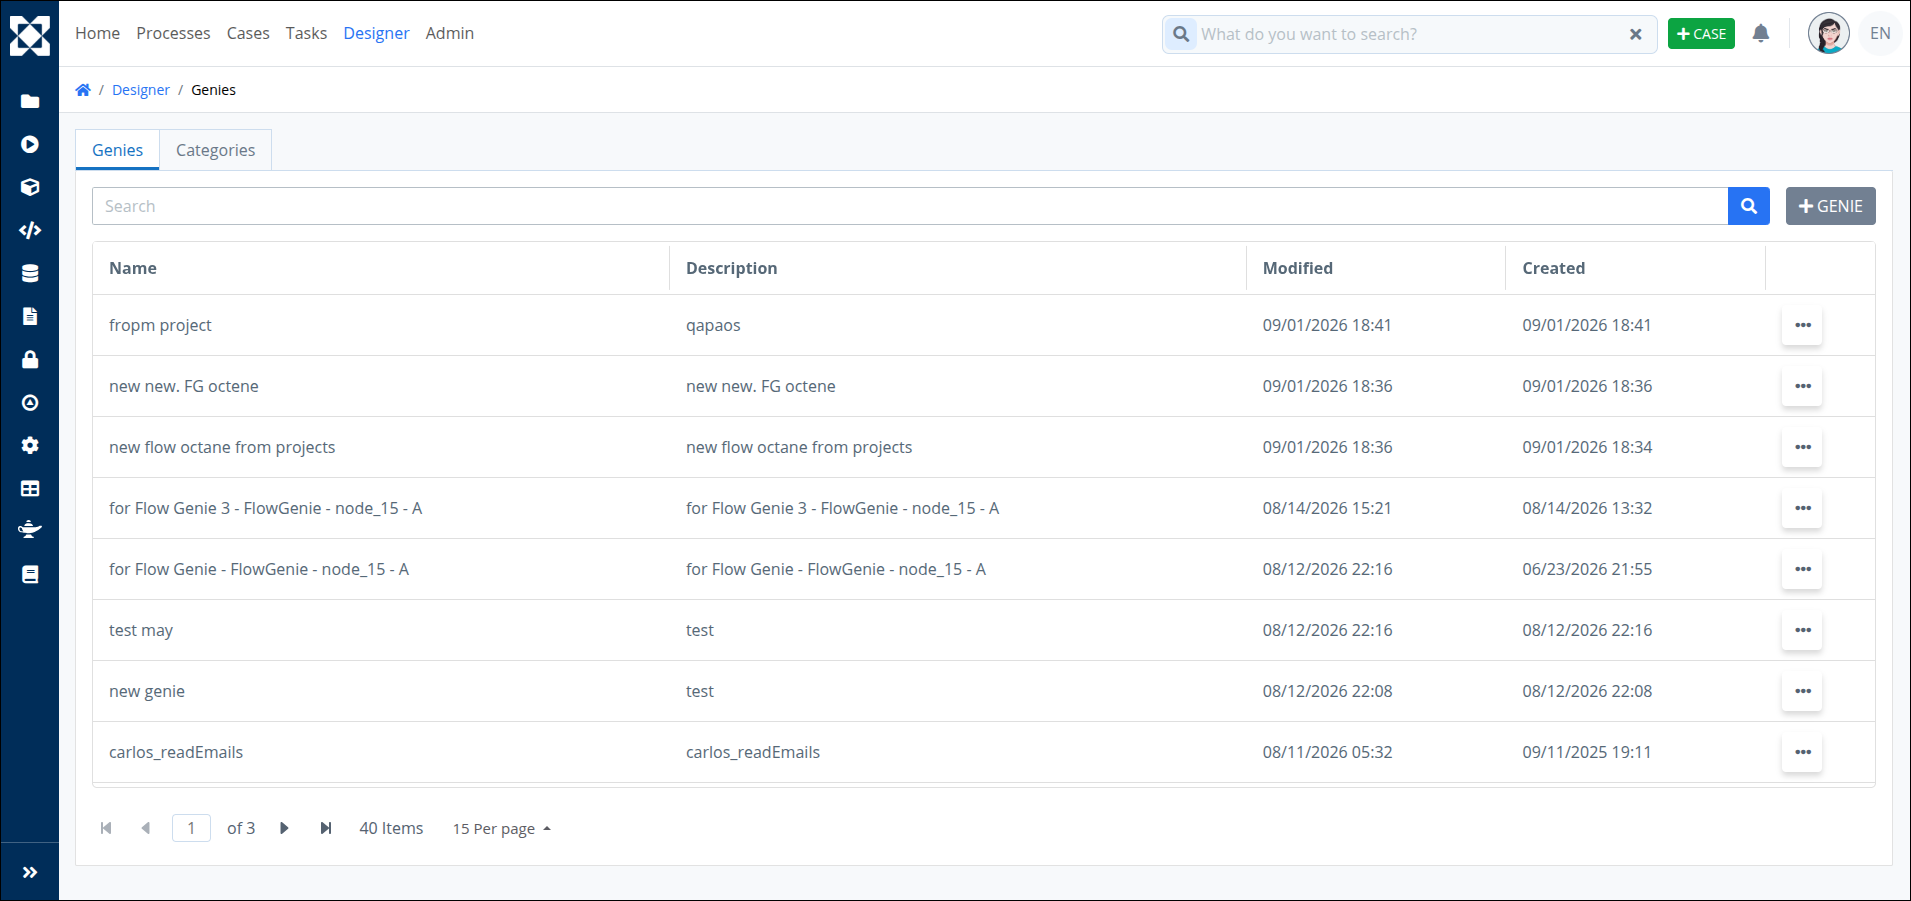
The Genies page displays the following information:
Name: The Name column displays the name of the Genie. Click the name to edit the Genie in the FlowGenie Studio.
Description: The Description column displays the description of the Genie.
Modified: The Modified column displays the date and time the Genie was last modified.
Created: The Created column displays the date and time the Genie was created.
Options: Click the
 icon to do one of the following actions:
 Edit a Genie. See the FlowGenie Studio.
 Edit Genie configurations such as name and description. See Create a Genie.
 Copy Genie configurations and prompting. See Copy a Genie.
  Add this Genie to a project. See Manage Assets within a Project.
 Add this Genie to a bundle. See Add Assets to a Bundle.
 Delete a Genie. See Delete a Genie.
Time zone behavior
The time zone settings default to the ProcessMaker Platform instance settings unless you have specified a different time zone in your user profile.
Search for a Genie
Follow these steps to search for a Genie:
View your Genies. The Genies page displays.
Enter in the Search setting the text to filter Genies using any of the following criteria:
Name: Filter by the Genie name that displays in the Name column.
Category: Filter by the Genie Category name that displays in the Category column.
Description: Filter by the Genie description that displays in the Description column.
As you enter text into the Search setting, Genies display that match your entered text.
If there are no search results, the following message displays: No Results.
Copy a Genie
Permissions
Your user account or group membership must have the following permissions to copy a FlowGenie unless your user account has the Make this user a Super Admin setting selected:
FlowGenie: View FlowGenie
FlowGenie: Create FlowGenie
See the FlowGenie permissions or ask your Administrator for assistance.
Follow these steps to copy a Genie:
View your Genies. The Genies page displays.
Click the
 icon for the Genie to copy.
Click the Copy option. The Copy Genie screen displays.
.png "image(268).png")
Edit the following information as necessary:
In the Name setting, enter the name of the new Genie. This is a required setting and Genie names must be unique.
From the Category drop-down menu, review which Genie Categories to associate with this Genie. To remove a Genie Category that is currently selected, click the
 icon for that selection or press
 Enterwhen the drop-down is visible. This is a required setting.From the Project drop-down menu, optionally select one of more Projects.
In the Description field, edit the description if needed.
Click Save.
Delete a Genie
Permissions
Your user account or group membership must have the following permissions to delete a FlowGenie unless your user account has the Make this user a Super Admin setting selected:
FlowGenies: Delete FlowGenies
FlowGenies: View FlowGenies
See the FlowGenie permissions or ask your Administrator for assistance.
When a Genie is deleted, in-progress Cases using that Genie are not affected. However, the Genie cannot be referenced in new Cases or other Process models afterward. Deleting a Genie is an irreversible action.
Follow these steps to delete a Genie:
View your Genies. The Genies page displays.
Click the
icon for the Genie to delete.Click the Delete option. The Caution! screen displays to confirm the deletion of the Genie.
.png "image(269).png")
Click Confirm. The following message displays: The Genie was deleted.