A custom menu replaces the default top menu that displays in ProcessMaker Platform. Each item in the custom menu is a hyperlink that specific users and/or group members configured to view that menu may select to go to that hyperlink's destination. A well-designed custom menu organizes important, relevant hyperlinks to destinations that user or group members visit frequently, such as the following:
Collections for users who have access to those Collections can more easily access them after those users log on.
Saved Searches for users who have been shared those Saved Searches can more easily access them.
Requests that users start often.
External links your organization visits frequently, such as your organization's portal.
For example, create one menu for your Sales team members that provides links to the in-progress Requests location and their Saved Searches they use to monitor their KPIs, but another menu for all users to access Human Resources information. Different users and different groups may access the same custom menu.
View Menus
Follow these steps to view all the menus in your organization:
Ensure that you are logged on to ProcessMaker Platform.
Click the Admin option from the top menu. The Users page displays.
Click the Customize UI icon
 from the left menu. The Customize UI page displays and shows the Site Design tab.
Click the Menus tab to display all menus.
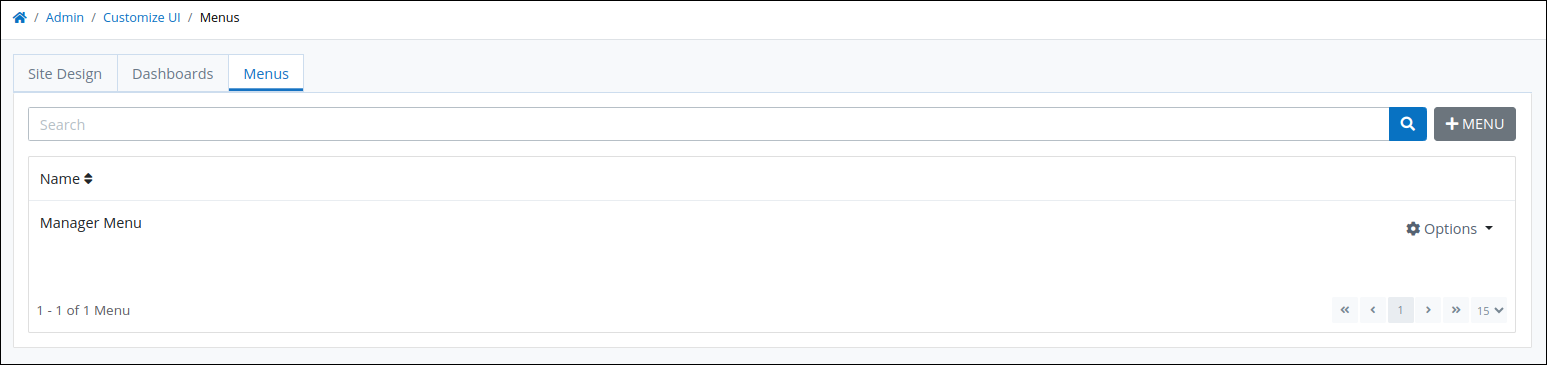
The Menus tab displays the name of each menu under the Name column. and provides options to edit or delete these menus.
Create a Menu
Follow these steps to create a customized menu that displays commonly used tabs for users.:
View all menus in your organization. The Menus tab displays:

Click the +Menu button. The Create Menu screen displays.
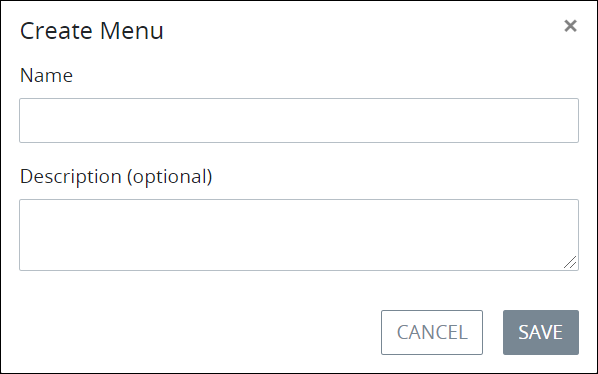
In the Name setting, enter a unique name for the menu. This is a required setting.
In the Description (optional) setting, enter a description for the menu.
Click Save.
To delete a menu, click the
 menu and Click the Delete icon
  . The Caution screen displays to confirm the deletion of the menu.
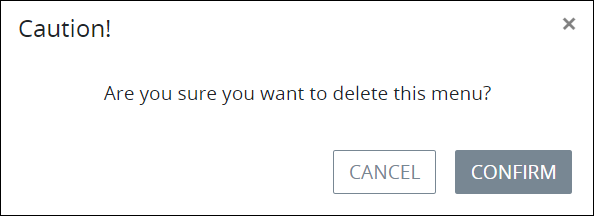
Click Confirm.
To add links to a menu, see Edit a Menu.
Create a Link for a Menu
Follow these steps to create a menu:
View all menus in your organization. The Menus tab displays:

Click the
 menu for the menu in which to create a link.
Click the Edit Menu option. The Links tab displays links in the same order they appear in the menu (left to right), but arranged from top to bottom.
To reorder the links, click and drag the sort icon
 next to a link to move it to a new position in the menu.
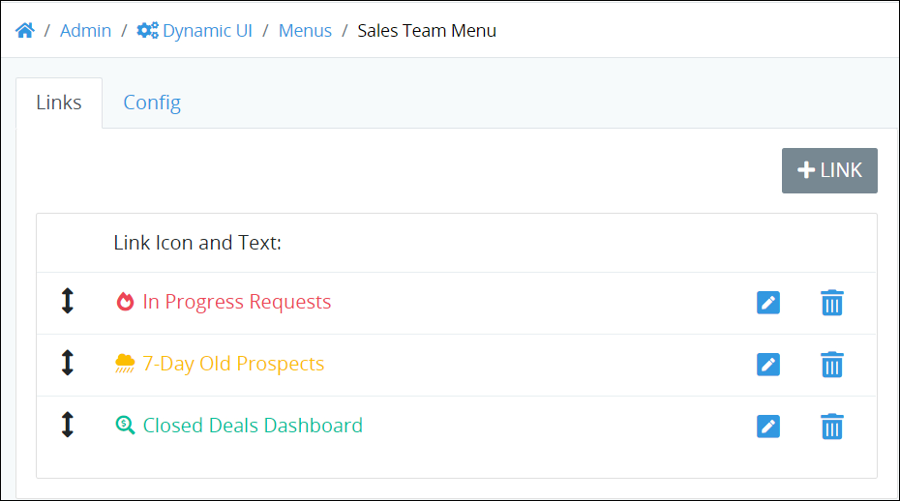
Click the +Link button. The Create Link screen displays.
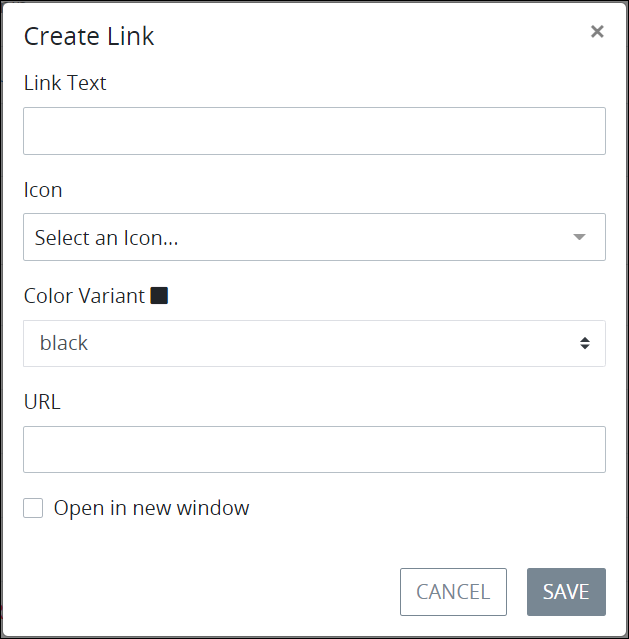
In the Link Text setting, enter a unique name for the link. This is a required setting if an icon is not selected from the Icon setting.
From the Icon setting, select an icon to display to the left of the link text. This is a required setting if the Link Text setting does not contain a value.
From the Color Variant setting, select a color to display for the link. Both the link text and the icon display in the selected color. Select from one of the following options:
black: Black-colored. This is the default option.
danger: Red-colored
info: Teal-colored
primary: Blue-colored
secondary: Gray-colored
success: Green-colored
warning: Yellow-colored
white: White-colored
In the URL setting, enter the URL that links to the location. See the following regarding how to locate the URL for these ProcessMaker locations:
Select the Open in a new window checkbox to open the link in a new browser window.
Click Save. The link displays in the Link tab.