Follow these steps to create a Scenario for a Process:
Click the options menu
 , then select the Configure option for your Process.
Click the Test Run/Scenarios tab.
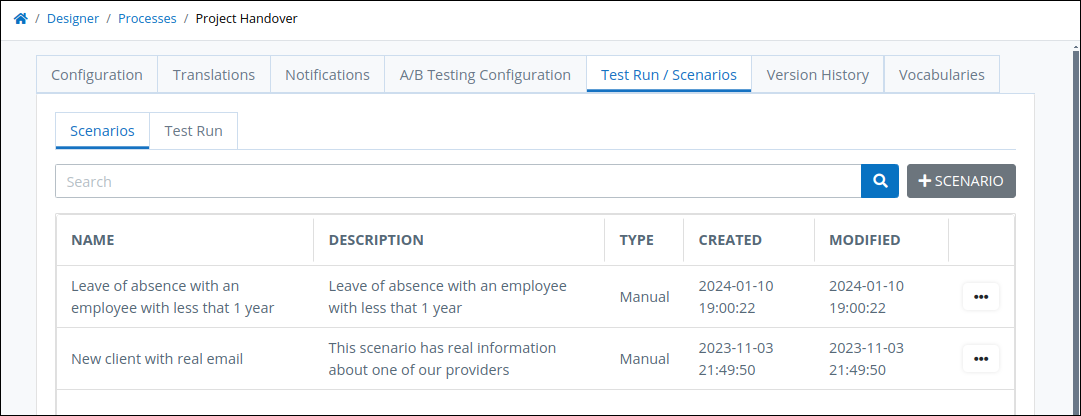
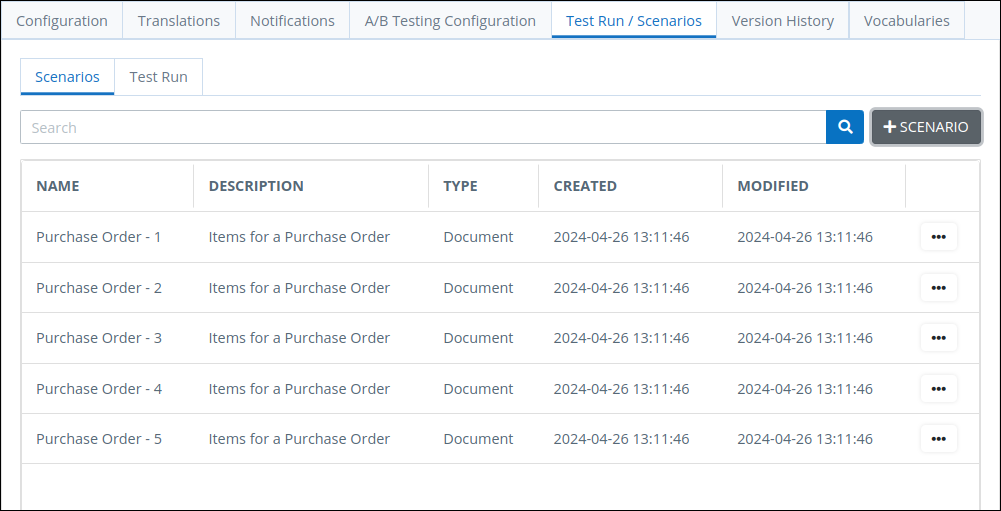
Scenarios for a selected Process
Click the +Scenario button to create a new scenario.
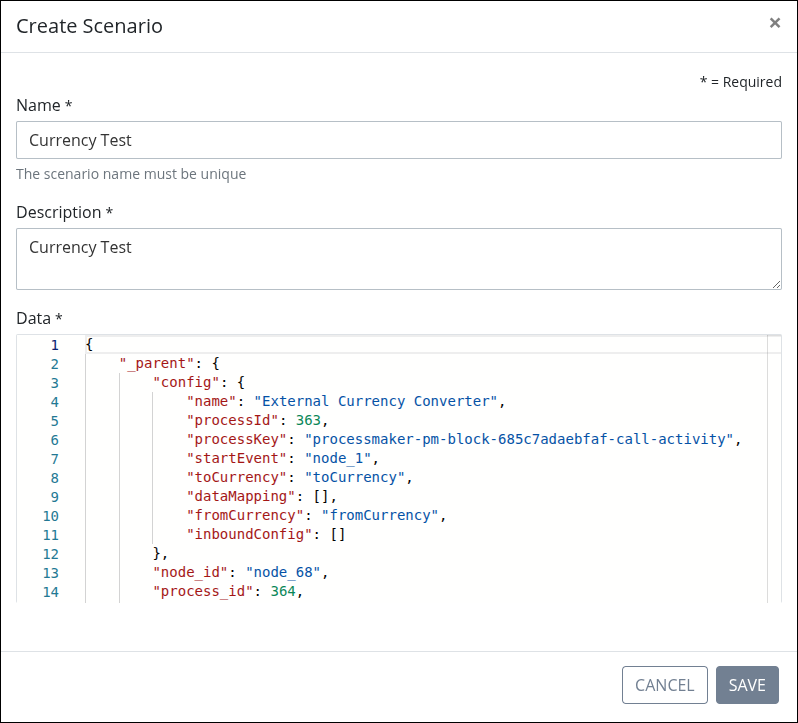
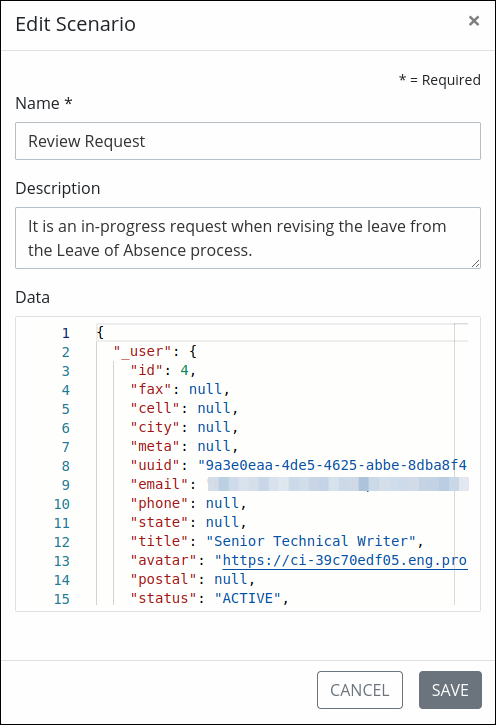
In the Name setting, enter the Scenario name. This is a required setting.
From the Description setting, enter a Scenario description.
From the Scenario Creation Type setting, select Manual Data to enter JSON data for the scenario, and enter the data in the Data setting. The entered data must be a
variable : valuepair that matches the JSON data model for this process.
From the Scenario Creation Type setting, select Document Upload to create multiple scenarios simultaneously. For detailed information, see Create Scenarios in Bulk.
Click the Upload button to upload the scenario file.
Click Save to save the scenarios.
Create the Scenario from a Completed Request
You can create a complete test scenario using the JSON data from a completed request. This method allows you to reuse actual request data for testing purposes, making it easier to simulate real process conditions.
This approach can be helpful when you want to:
Avoid manually building a JSON data model
Test using realistic, previously submitted request data
Keep in mind:
You’ll need at least one completed request available to generate the scenario
Some manual editing might be required to match the exact data needed for your test
This method is useful for quickly creating test inputs and simulate an entire process request.
Follow these steps to create a Scenario from a Request data:
Locate a Request summary or Task summary of a completed request.
Click the Data tab. Verify that it contains the necessary JSON data to run your test.
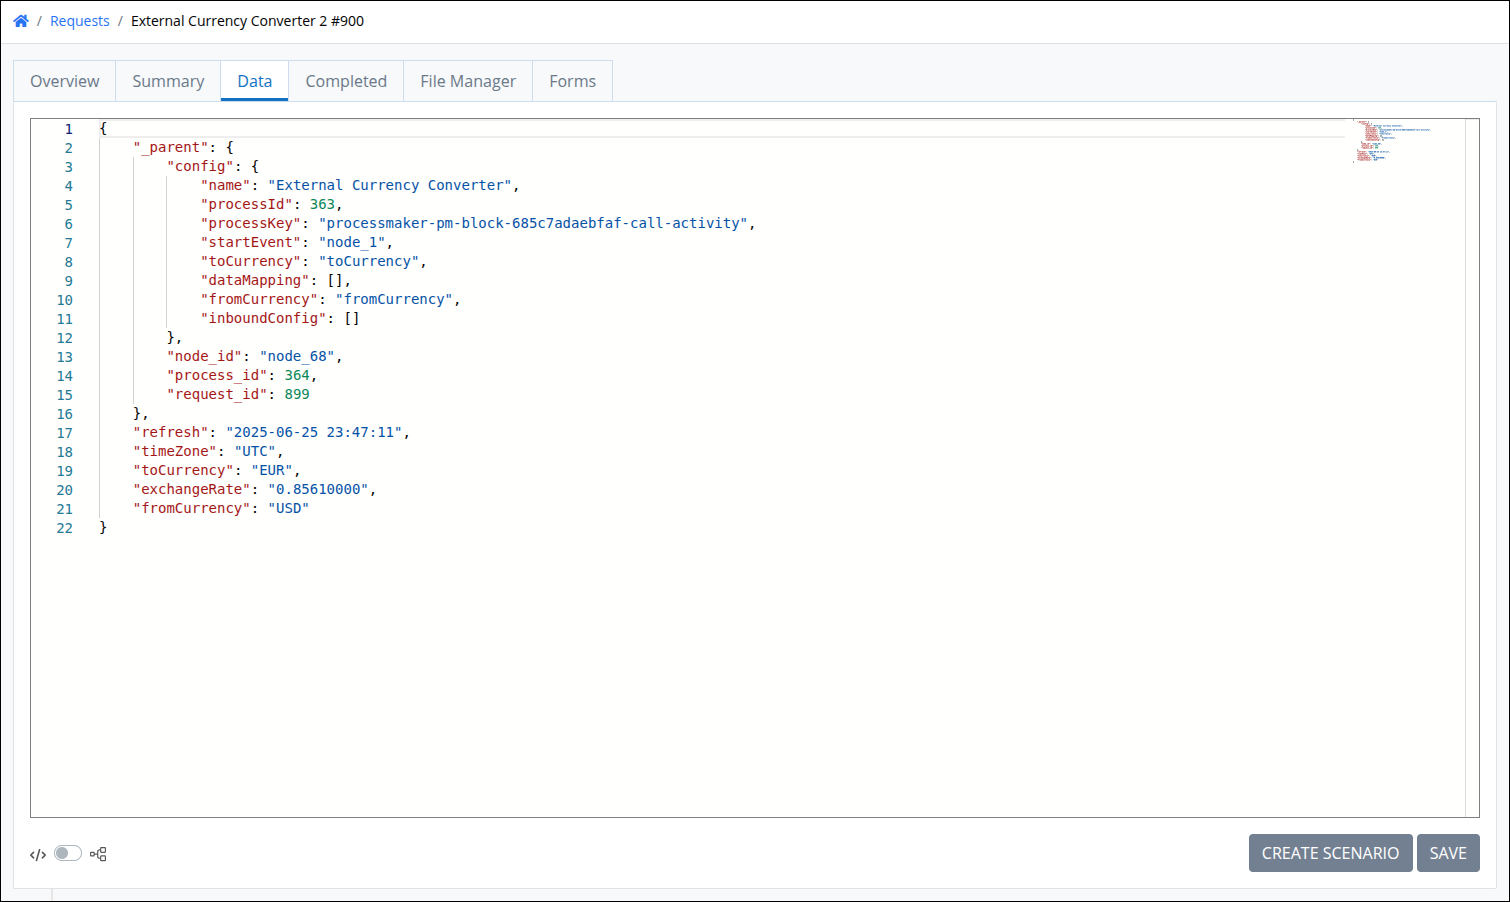
Click the Create Scenario button from the Request or Task Summary view.
The Create Scenario screen will open, allowing you to generate the scenario based on the selected request data.
Create Scenarios in Bulk
You can create multiple scenarios at once using the Document Upload option. This requires a pre-formatted .xlsx file, where each row represents a separate scenario for a Purchase Order request.
Make sure the Excel file follows the required structure, with each column corresponding to a process variable used in the scenario.
date | price | product | quantity | percentage | form_checkbox_1 |
|---|---|---|---|---|---|
04-30-2024 | 12 | item11 | 6 | 9.8 | true |
04-28-2024 | 8 | item12 | 14 | 3.2 | true |
05-01-2024 | 32 | item13 | 3 | 10.5 | false |
05-03-2024 | 40 | item14 | 4 | 20 | true |
05-02-2024 | 5 | item15 | 35 | 15 | false |
Follow these steps to create bulk scenarios:
Configure general settings for the Process where you want to add a scenario.
Click the Test Run/Scenarios tab.
Click the +Scenario button to create a new scenario.
In the Name setting, enter a name for the Scenario. This is a required setting.
In the Description setting, enter a description to explain the Scenario.
From the Scenario Creation Type setting, select Document Upload to create multiple scenarios at once.
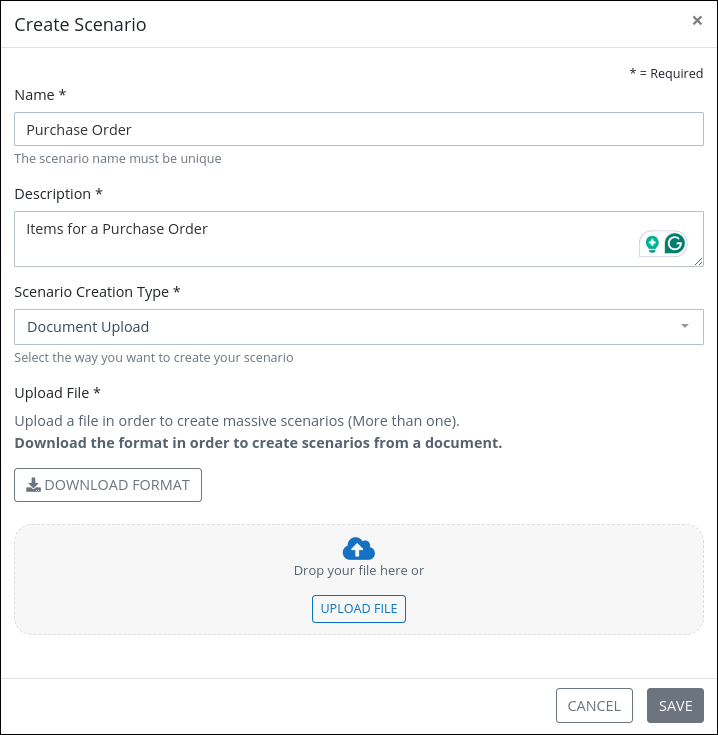
Click the Download Format button to download a sample file, then edit it to include your scenarios.
Click the Upload File button to upload the bulk scenario file.
Click Save to save the scenarios. Each row from the uploaded file will be imported as a new scenario.
Edit or Delete a Scenario
Permissions
Your user account or group membership must have the following permissions to edit Scenarios for a Process unless your user account has the Make this user a Super Admin setting selected:
Processes: Edit Processes
Processes: View Processes
See the Processes permissions or ask your Administrator for assistance.
Follow these steps to edit a Scenario for a Process:
Configure general settings for the Process. The Configuration tab displays.
Click the Scenarios tab.
Click the three dots icon, and then select the Edit Scenario option for the Scenario to edit. The Edit Scenario window displays.
Edit the following if necessary:
From the Name setting, edit the scenario name for the Process.
From the Description setting, edit the Scenario description for the Process.
From the Data setting, edit the JSON data model for the Process Scenario.
Click Save.
To delete a Scenario, click the three dots icon again, and then select the Delete option. The Caution window displays to confirm the deletion of the Scenario.
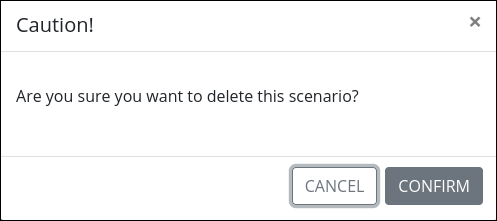
Click Confirm.