Easily create and share Saved Searches to view frequently accessed Tasks, Requests, and Collection Records using predefined search criteria. This helps you quickly access important information without repeatedly entering the same search filters
Permissions
If you are saving record searches from a Collection, your user account or group membership must have the "Collections: View Collections" permission to view the list of Collections unless your user account has the Make this user a Super Admin setting selected. See the Collections permissions or ask your Administrator for assistance.
Furthermore, your user account or group membership must have the View record permission from a Collection's configuration to view that Collection's records. See Configure a Collection or ask the manager of that Collection for assistance.
A Saved Search can be created from the Task list, Request list, or Collection Records. Follow these steps to create and share a Saved Search:
Access one of the following lists:
Records in a Collection
Ensure that you are logged on to ProcessMaker Platform.
Click the Designer option from the top menu to view the Designer Welcome Screen.
From the Assets pane, hover over the Collections icon.
.png)
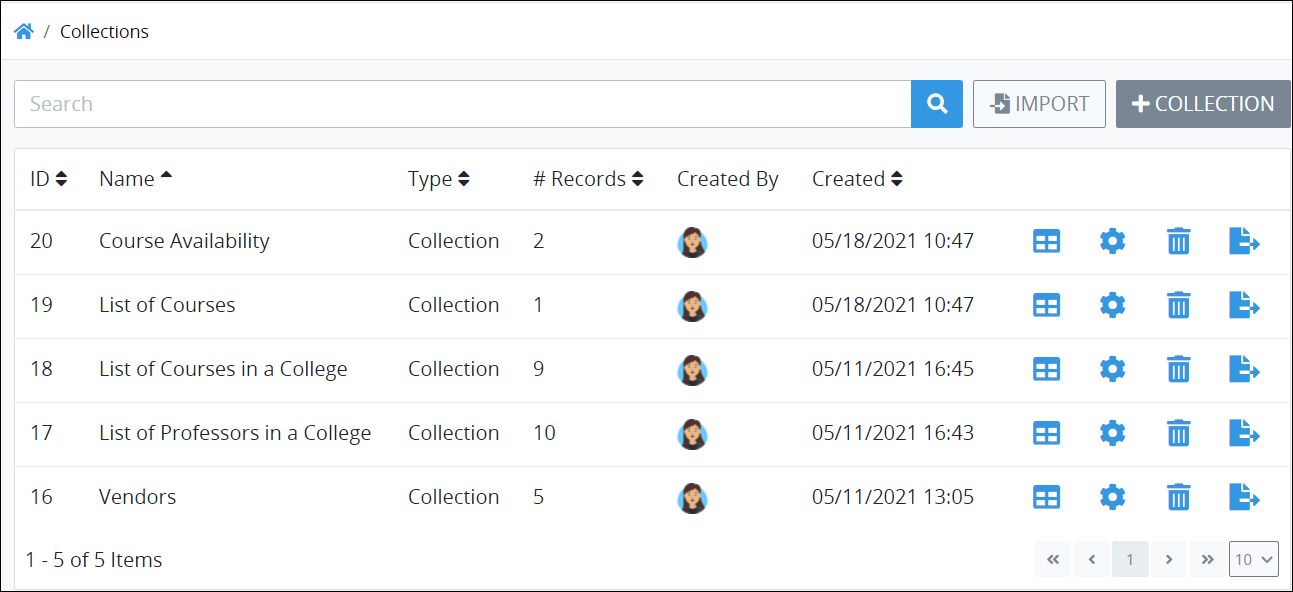
Click View All Collections. The Collections page displays the Collections that you are allowed to view.
Click the Records icon
 for the selected Collection. The list of records displays.
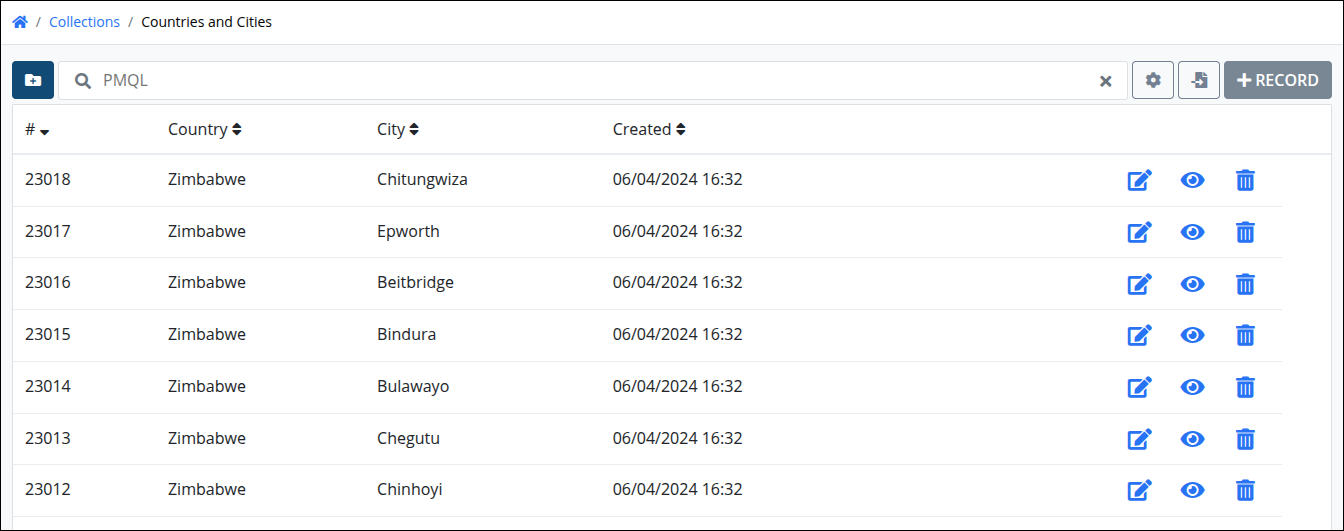
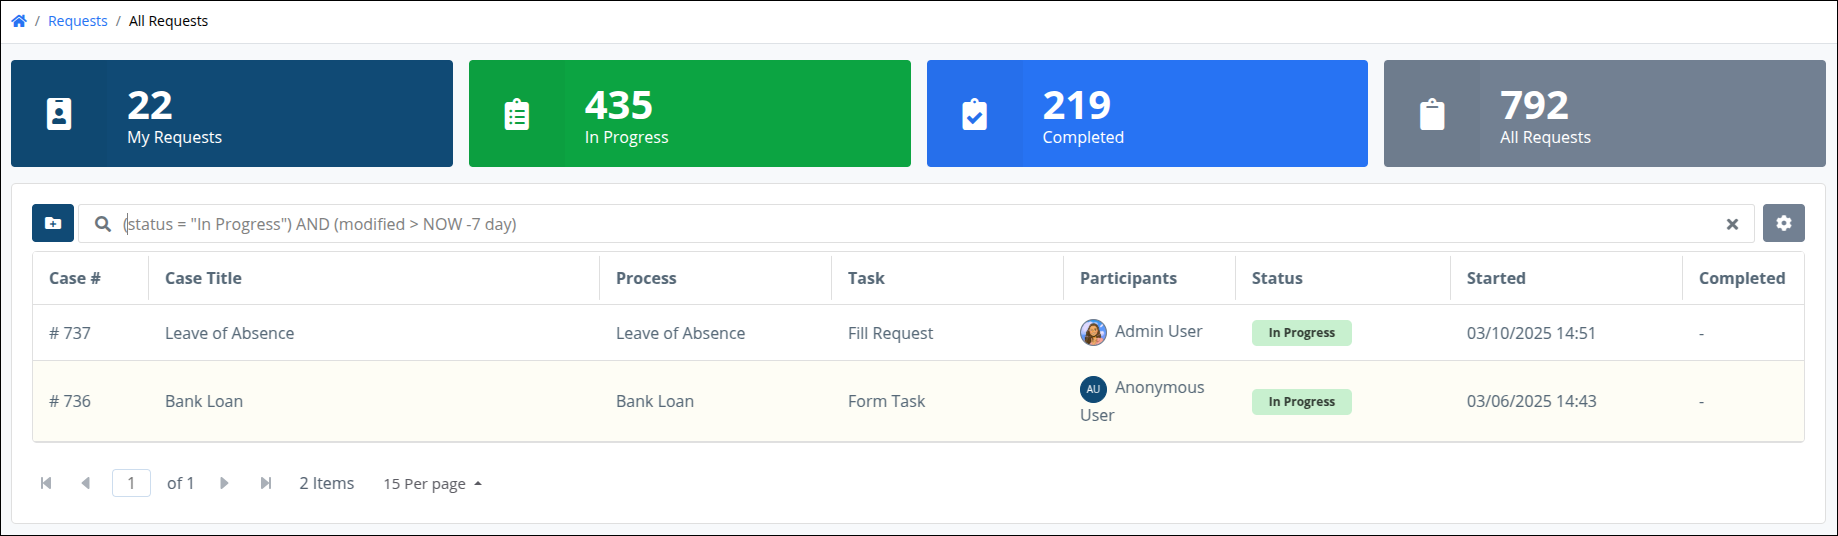
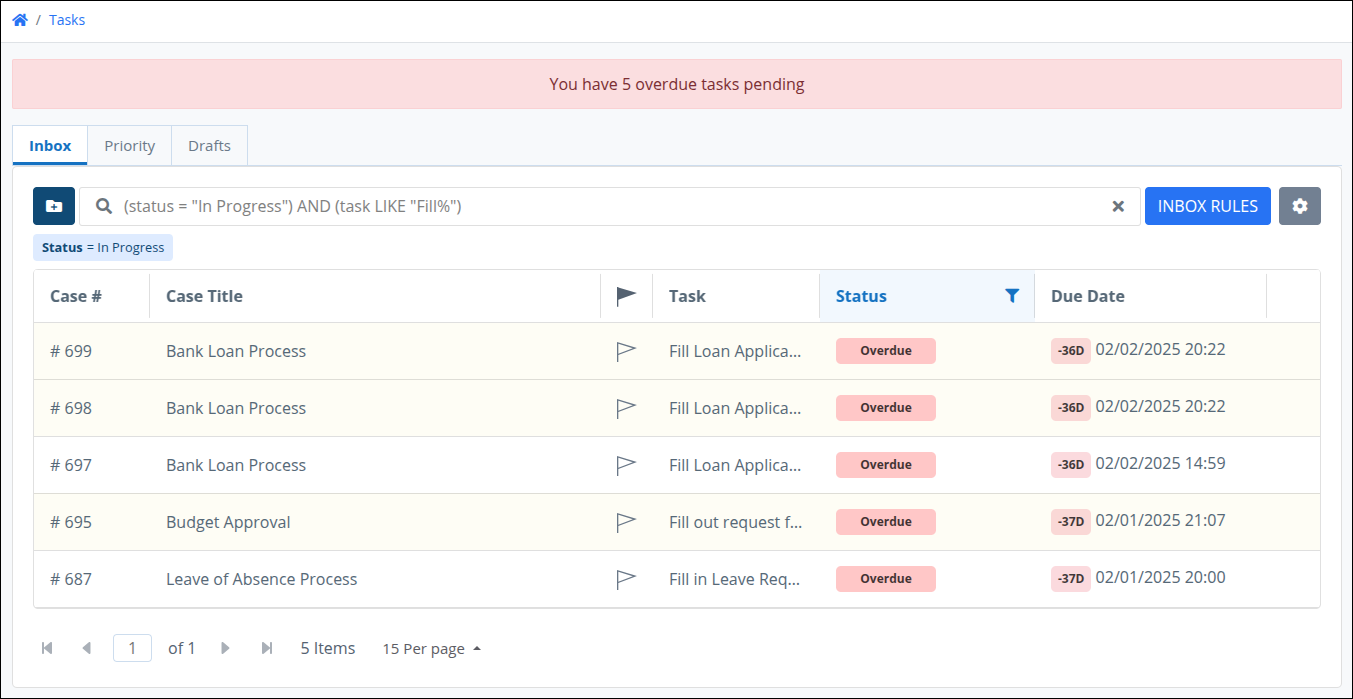
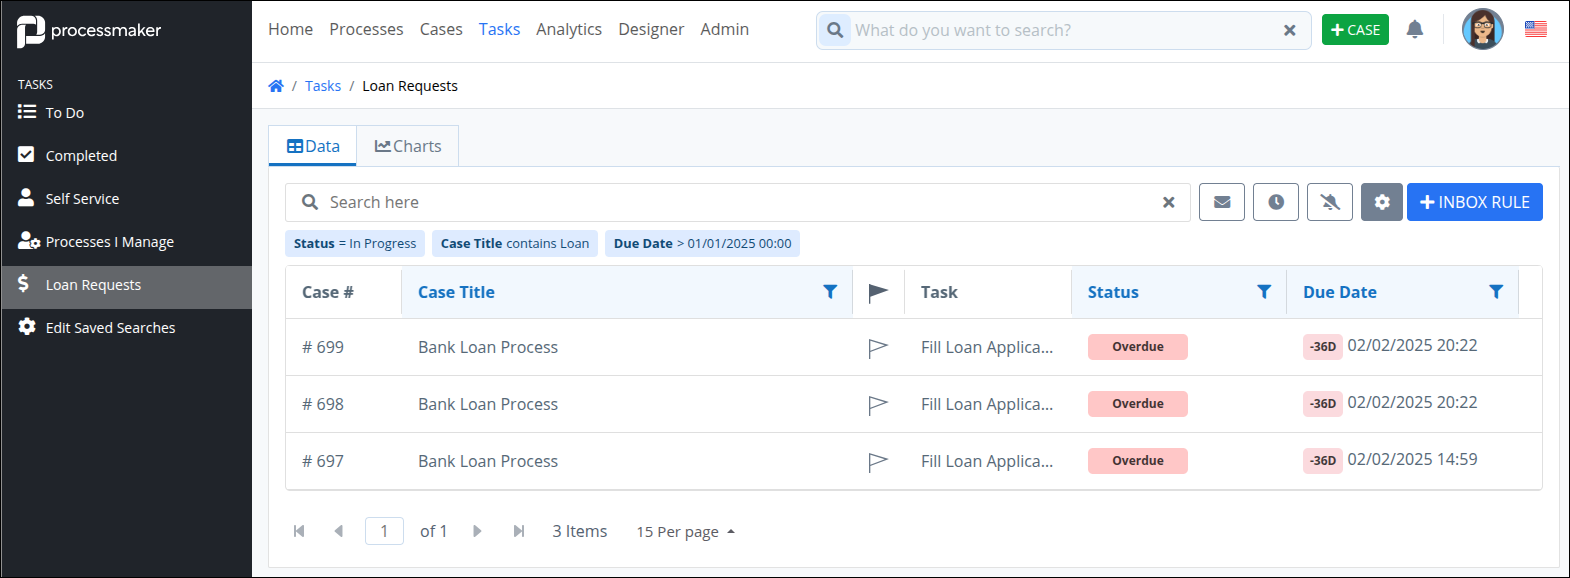
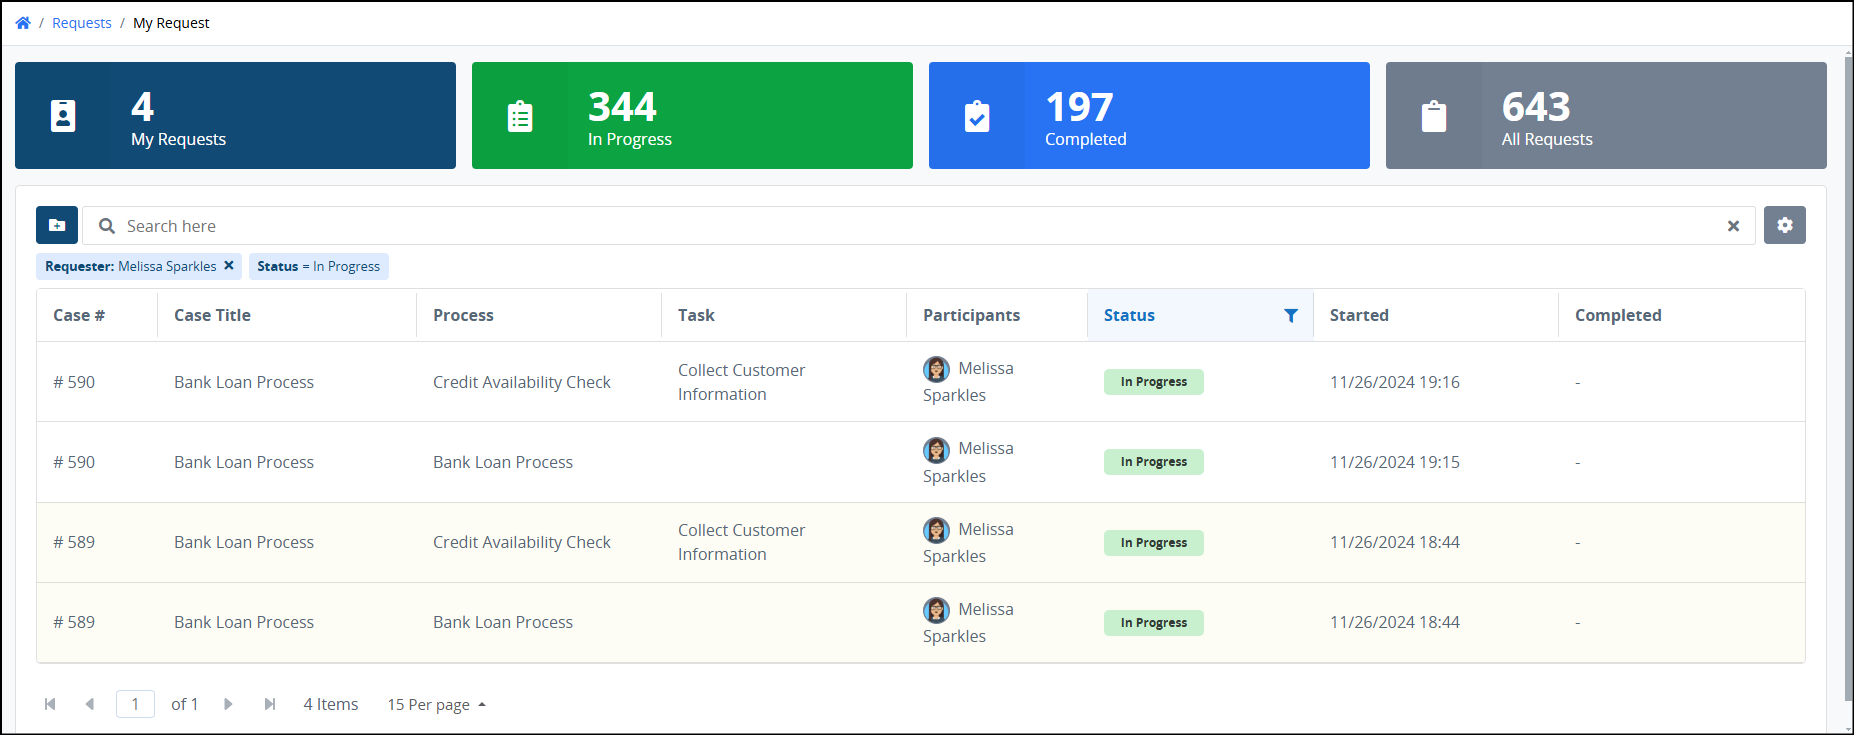
Once you have accessed your desired list, enter advanced search criteria using ProcessMaker Query Language (PMQL) parameters and/or use column filters to filter the list. Alternatively, you can use Global AI Search for broader search capabilities.
Click the Save Search button
 located to the left of the search field. This opens the Save Search screen, where you can define and save your search criteria for quick and convenient access later.
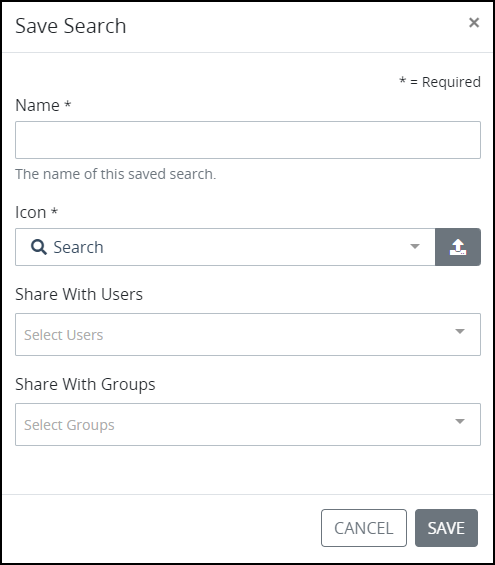
In the Name field, enter a clear, descriptive name for your Saved Search. This name appears in the left sidebar and should clearly identify the Saved Search.
From the Icon setting, select an image to represent the Saved Search.
Use the Upload button
 to upload a custom icon of size 2KB or less.
 From the Share With Users drop-down menu, select the user(s) to share your Saved Search with by choosing their full name. Multiple users may be added, one at a time, to this setting, and you may click the remove icon
 to remove a user from the list. These selected users will see your Saved Search with the image you selected from the left sidebar.
From the Share With Groups drop-down menu, select the group(s) to share your Saved Search with by choosing the group name. Multiple groups may be added, one at a time, to this setting, and you may click the Remove icon
to remove a group. Members of the selected group(s) will see your Saved Search from the left sidebar. 
Click the Save button to save the configuration.
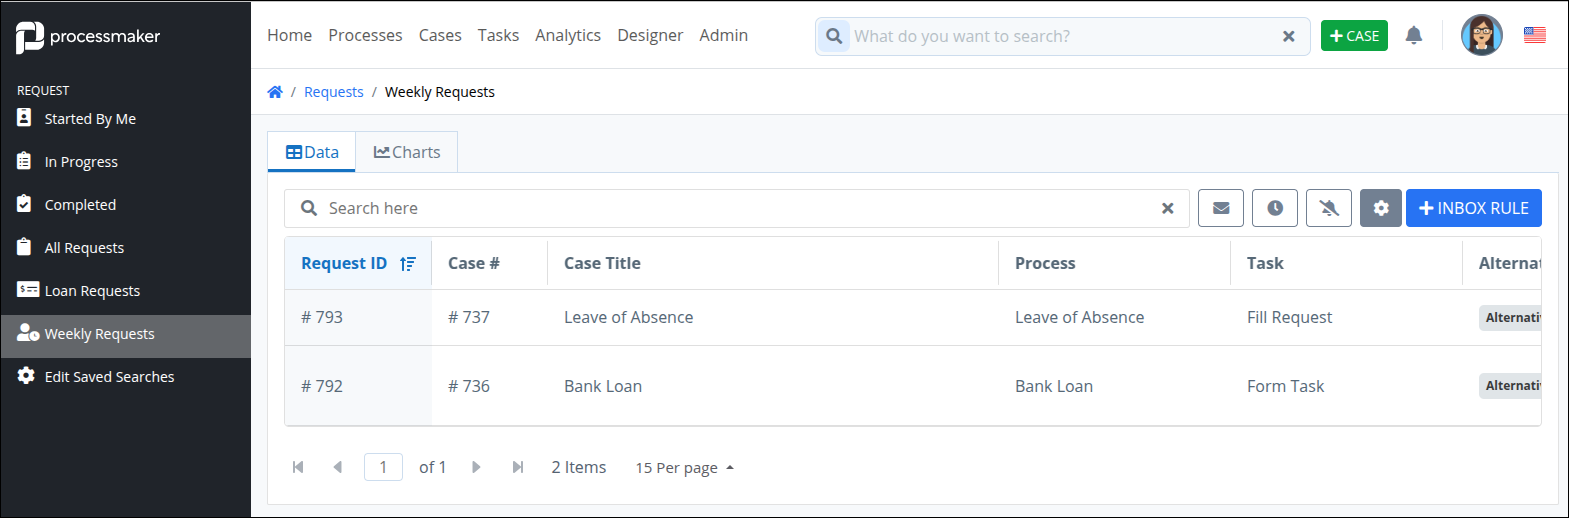
If you create a Saved Search for Tasks, it will appear in the left sidebar when viewing Tasks. The same applies to Requests and Collection Records, where the Saved Search will be visible in their respective sidebars.
.png)
ProcessMaker University Course
For step-by-step guidance on building Saved Searches, enroll in our Saved Searches and Charts course @ ProcessMaker University.