Add or create an asset to a Project. Any Project member may then use that asset.
Overview
Any of the following asset types may be added to a Project:
An asset may also be created from within the current Project.
Add an Asset to Add to the Current Project
Follow these steps to add or create an asset from within the current Project:
Open the Project in which to add or create an asset.
Click the +Asset button. The +Asset button expands to select which asset type to add to this Project.

Do one of the following:
Add or create a Process to this Project: Click the Processes option. The +Asset button drop-down changes to add a Process. The New Process button displays to create a new Process.

Add or create a Screen to this Project: Click the Screens option. The +Asset button drop-down changes to add a Screen. The New Screen button displays to create a new Screen.

Add or create a Script to this Project: Click the Scripts option. The +Asset button drop-down changes to add a Script. The New Script button displays to create a new Script.

Add or create a Data Connector to this Project: Click the Data Connectors option. The +Asset button drop-down changes to add a Data Connector. The New Data Connector button displays to create a new Data Connector.

Add or create a Decision Table to this Project: Click the Decision Tables option. The +Asset button drop-down changes to add a Decision Table. The New Decision Table button displays to create a new Decision Table.

Do one of the following:
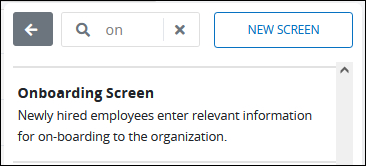
Search for and select the asset to add to the Project: Click in the search field and enter the partial or complete name of the asset in which to filter results. Filtered results display the name and description of each asset.

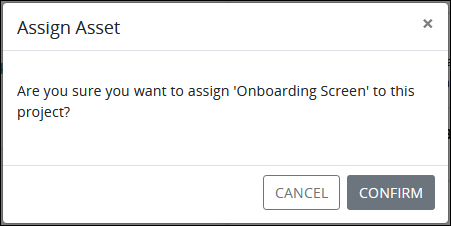
After selecting the asset, a message displays to confirm assigning this asset to the current Project. Click Confirm.

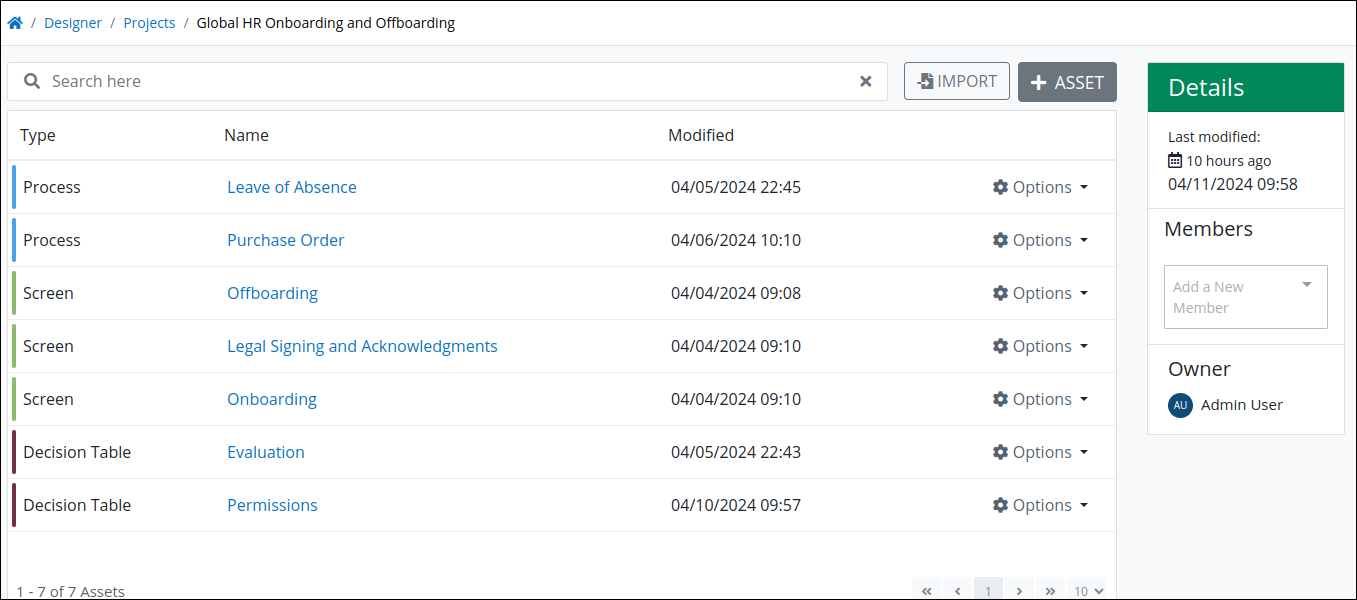
The asset displays in the list of assets for the current Project. Optionally continue searching for other assets of that type to add to this Project.

Asset added to a Project Create a new asset to add to the Project: Click the button labeled to create a new asset. The screen to create that asset type displays. See one of the following topics for the asset type you are creating:
Do the following:
While creating the asset, ensure to add this Project in the Project setting as amongst those to which you assign the new asset. This is not set automatically.
Create the asset. The design environment for that asset type displays.
Optionally, design the asset at this time. This is not required to add the asset to the Project.
Return to the Project for which you created this asset. It displays in the list of assets for the current Project.
Go back to add a different asset type to this Project: Click the Back icon
 .
.Collapse the +Asset button: Click the +Asset button. The +Asset button collapses.
Use an Asset in a Project
After an asset is added to a Project, any member in that Project may use it. Clicking on the asset's name opens that asset. Furthermore, clicking on the![]() icon displays options that are intrinsic to that asset type.
icon displays options that are intrinsic to that asset type.
However, there are options available from the ellipses menu specific for use within a Project:
Use caution when deleting an asset from a Project. As is the case with each asset type, deleting an asset affects other Projects and/or Processes that use that asset. As a best practice, remove the asset from the Project when necessary to not affect other Process Designers.
Copy an Asset to a Project
Copy an asset to another Project to which you are a member. By copying an asset from the current Project to another that needs the copied asset saves you time from adding this asset from within the other Project or from the asset itself. You may only copy an asset to Projects of which you are a member.
Follow these steps to copy an asset to a Project:
Open the Project from which to copy one of it assets. The Project displays.

A Project with assets Click the
 dropdown menu, and then select the Copy to Project option. The Copy of Asset screen displays. The original name of the asset displays in the Name setting with the word
 Copyappended to it.
Copy of Asset screen to copy an asset to one or more other Projects
Revise the asset configuration as you would that asset type. See one of the following topics for the asset type you are copying:
Do the following:
While copying the asset, select to which Project(s) in the Project setting to assign this asset. Projects selected when saving the copy of this asset display there.
Save the copy of the asset. The design environment for that asset type displays.
Optionally, revise the design from the original asset at this time. This is not required to add the asset to the other Project(s).
Open each Project to which you copied the original asset. The copied asset with your revisions displays in the list of assets for the other Project(s).
Remove an Asset from a Project
Removing an asset from a Project makes that asset no longer available to that Project. Removing the asset does not delete it. You may only remove an asset in Projects of which you are a member.
Follow these steps to remove an asset to a Project:
Open the Project from which to copy one of it assets. The Project displays.

A Project with assets Click the
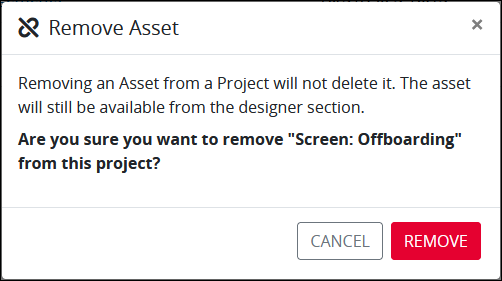
 dropdown menu, and then select the Remove from Project option. The Copy of Asset screen displays. A message displays confirmation to remove that asset from the Project.
Click Remove.