As an Administrator, extend the users' attributes in Users section. The user profile setting contains most relevant information for users. However, the client can add more profile settings fields according his/her necessities.
What is a User Extended Property?
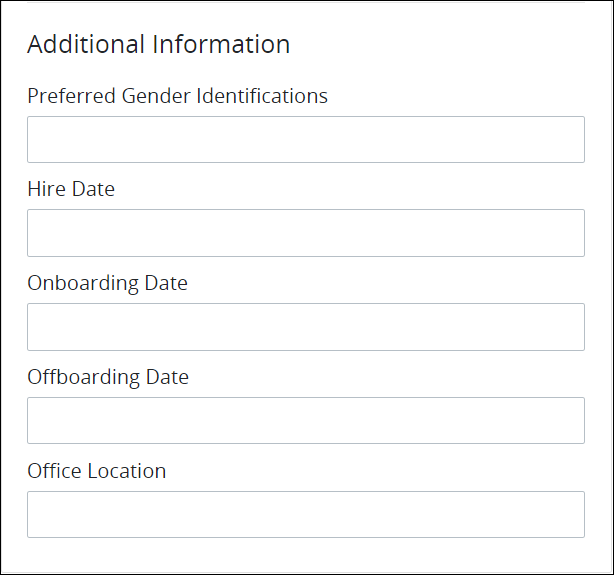
User Extended Properties provide additional profile settings available to all user accounts. User Extended Properties setting allows Administrators to store additional information in user accounts. User Extended Properties display in the Additional Information section when editing a user account.
User Extended Properties are comprised of two parts: the JSON data variable name and the label. This JSON data variable becomes available as part of the user data object. The label displays in the Additional Information section.
To configure User Extended Properties, visit the Admin Settings page, and then select the Users section and click on the Edit icon to open the Extended Properties management modal.
For example, add User Extended Properties to attribute information for Human Resources, such as the hiring date, onboarding date, offboarding date, and office location for each user in the organization.
User Extended Properties that are available to all user accounts
Configure User Extended Properties from the Users section in Settings. See View User Extended Properties.
View User Extended Properties
Permissions
Your user account or group membership must have the "Settings: View Settings" permission to view User Extended Properties unless your user account has the Make this user a Super Admin setting selected.
See the Settings permissions or ask your Administrator for assistance.
Follow these steps to view the User Extended Properties:
Ensure that you are logged on to ProcessMaker Platform.
Click the Admin option from the top menu. The Users page displays.
Click the Settings icon
 from the left sidebar to view all settings.
From the Settings panel on the left, expand the User Settings section.
Select Users to view the following details:
Setting: The Setting column displays the Users setting name.
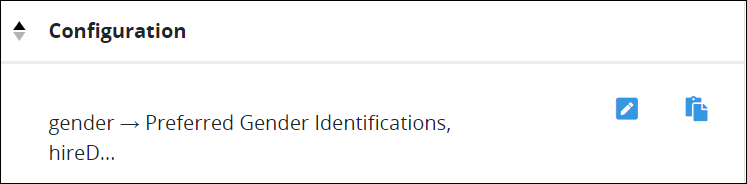
Configuration: The Configuration column displays the setting value and how it is configured.
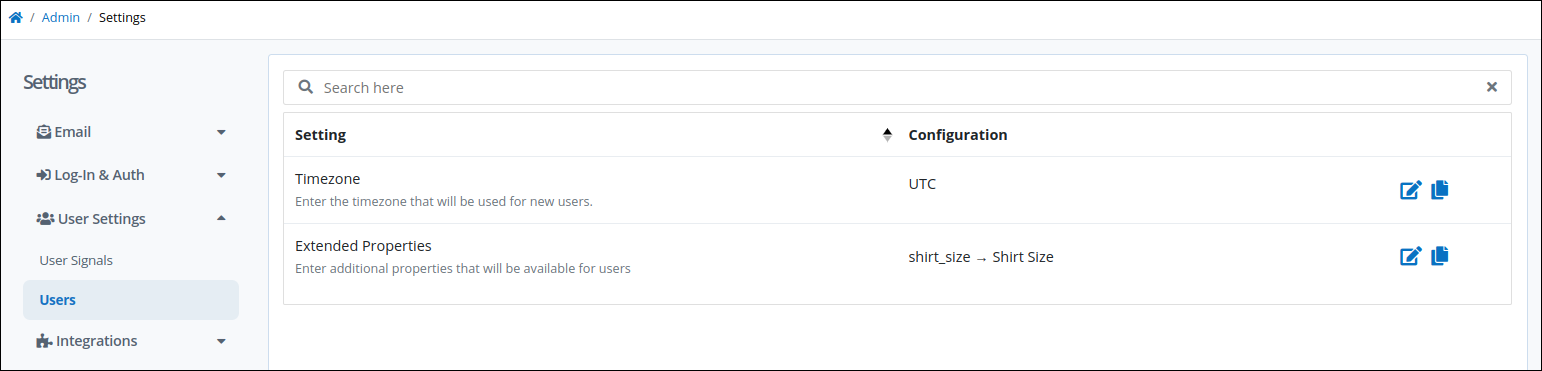
User Extended Properties in the "Users" tab within the "Settings" page
Select User Time Zone
Select the time zone for new users.
Permissions
Your user account or group membership must have the "Settings: Update Settings" permission to copy all User Extended Properties unless your user account has the Make this user a Super Admin setting selected.
See the Settings permissions or ask your Administrator for assistance.
Follow these steps to select time zone:
View your User Extended Properties. The Users settings display.
Click on the Edit
 icon for the Timezone setting. The Timezones setting displays UTC by default.
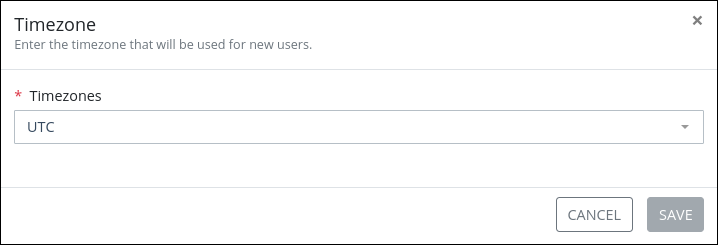
From the Timezones setting, select a timezone for new users..
Add or Edit a User Extended Property
Permissions
Your user account or group membership must have the "Settings: Update Settings" permission to add a User Extended Property unless your user account has the Make this user a Super Admin setting selected.
See the Settings permissions or ask your Administrator for assistance.
Follow these steps to add or edit a User Extended Property:
View your User Extended Properties. The Users settings display.
Click on the Edit
icon for the Extended Properties setting. The Extended Properties screen displays your currently added User Extended Properties. If there are no User Extended Properties, only the Variable Name and Label columns display. 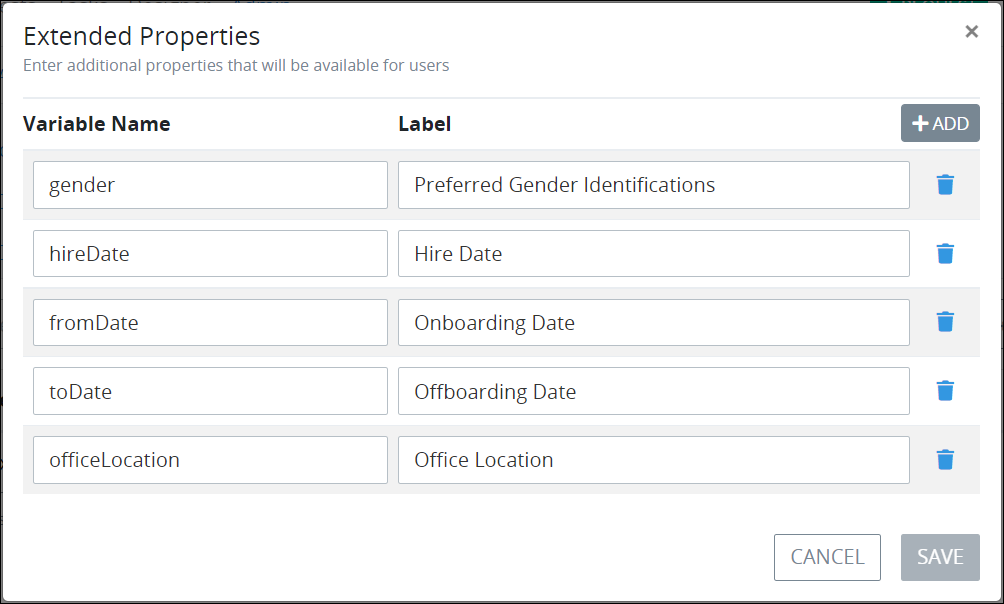
Click on the +Add button. A row displays below the existing User Extended Properties. Otherwise, edit a created Extended Property row.
In the Variable Name setting, enter the Variable Name to store the User Extended Property value. Reference the Variable Name to get the value for this User Extended Property. As a best practice, use PascalCase or camelCase style for the Variable Name setting value. This is a required setting.
In the Label setting, enter the text label that displays in the Additional Information section of each user account for Administrators to enter the value of that User Extended Property. Consider the following example that stores the hiring date as a User Extended Property:
Variable Name:
genderLabel:
Preferred Gender Identifications
This is a required setting.
Click Save. The User Extended Properties display in the Configuration column.
Copy All User Extended Properties
Copy to clipboard all added User Extended Properties as a JSON array. Paste the JSON array into any asset that either requires the User Extended Properties or for testing purposes.
Permissions
Your user account or group membership must have the "Settings: Update Settings" permission to copy all User Extended Properties unless your user account has the Make this user a Super Admin setting selected.
See the Settings permissions or ask your Administrator for assistance.
Follow these steps to copy all added User Extended Properties:
View your User Extended Properties. The Users settings display.
Click the Copy to Clipboard icon
 for the Extended Properties setting to copy all extended properties as a JSON array. Paste the JSON array into any asset that either requires the User Extended Properties or for testing purposes. The following message displays: The setting was copied to your clipboard.
Delete a User Extended Property
Permissions
Your user account or group membership must have the "Settings: Update Settings" permission to delete User Extended Properties unless your user account has the Make this user a Super Admin setting selected.
See the Settings permissions or ask your Administrator for assistance.
Deleting a User Extended Property cannot be undone. No screen displays when deleting a User Extended Property to confirm its deletion. After saving changes, the deleted User Extended Property is no longer available to any user account: values configured in each user account for the deleted User Extended Property are removed.
Follow these steps to delete a User Extended Property:
View your User Extended Properties. The Users settings display.
Click on the Edit
icon. The Extended Properties screen displays your currently added User Extended Properties.Click on the Delete
 icon for the User Extended Property to delete.
Click Save. The remaining User Extended Properties display in the Configuration column.