Permissions
Your user account or group membership must have the following permissions to create Test Runs for a Process unless your user account has the Make this user a Super Admin setting selected:
Processes: Edit Processes
Processes: View Processes
See the Processes permissions or ask your Administrator for assistance.
Follow these steps to test a Process:
Click the
 menu, and then select the Run Test option.
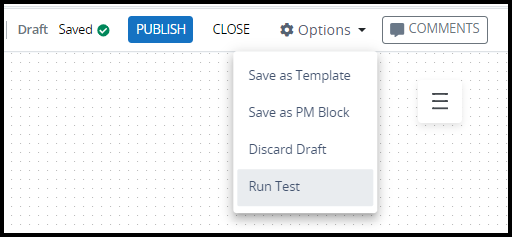
From the Starting Point setting, select the modeling object from where to start the test.

Optionally, select Manual Resume Point to stop automated testing at the selected step and continue the test manually.
If a Manual Resume Point is selected, all steps from that point onward must be completed manually.
Users must manually fill in all screens. Data types of controls and screen validations will be checked.
If a Manual Resume Point is not selected, the process will automatically flow and submit all tasks.
If a Manual Resume Point is not selected, data from the selected scenario or Additional Data setting will be used to auto-fill input fields in screens or request variables.
The same data will also be utilized to evaluate gateway conditions and route the workflow accordingly.
If no scenario is selected or the Additional Data setting is empty, all tasks will be automatically submitted without any data or conditions. In this case, screen validation rules will not be checked.
From the Scenario setting, optionally select a scenario. See details on how to configure a Scenario.
Optionally in the Additional Data setting, add JSON data for the test. You can enter JSON data manually or obtain it from the Data tab of a completed request of a process.
Select Bypass Scripts tasks and Data Connectors to skip running any script tasks or data connectors in the process.
Click Run to start the test. The test will run as configured and display results in the Modeler.
A complete summary of all test runs can also be viewed in the Test Runs List.
Review a Test Run
After creating and running a Process Test, Process Modeler simulates workflow routing based on the provided Scenario and/or JSON data.
Use the controls at the bottom of the Modeler to Run, Rerun, or Stop a test.

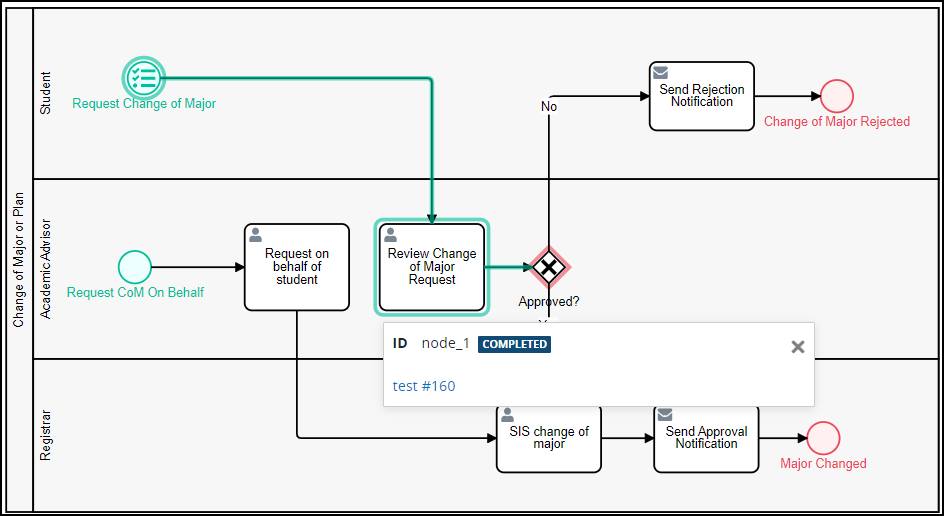
As the test runs, each modeling object is highlighted in a color to indicate its status.
Green: This indicates that the task has been completed. Hover over the task to view its details.
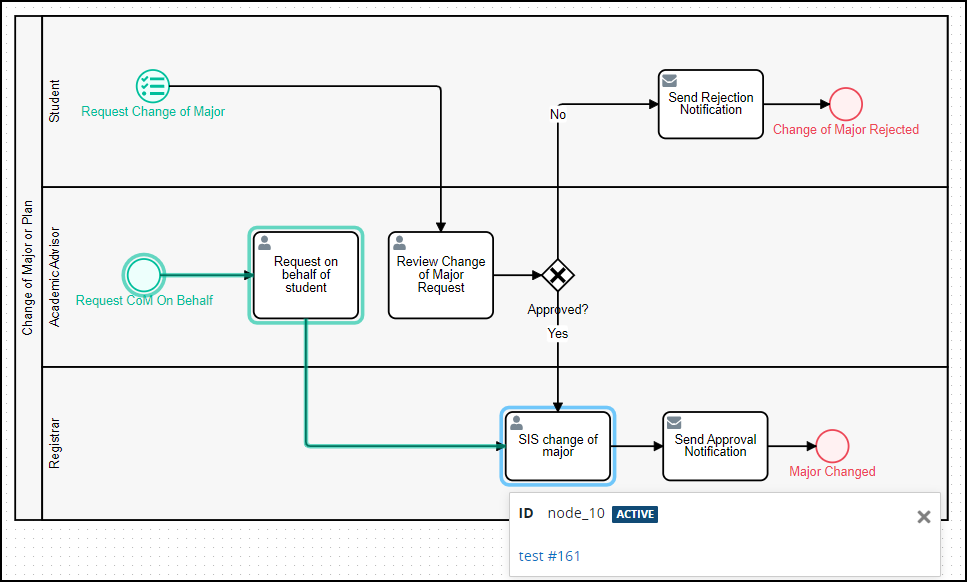
Blue: This indicates that the task is currently active. If the Manual Resume option was selected, click the task to open the form and submit it. Otherwise, wait for the task to be completed automatically.
Gray: This indicates that the task is pending or was not executed.
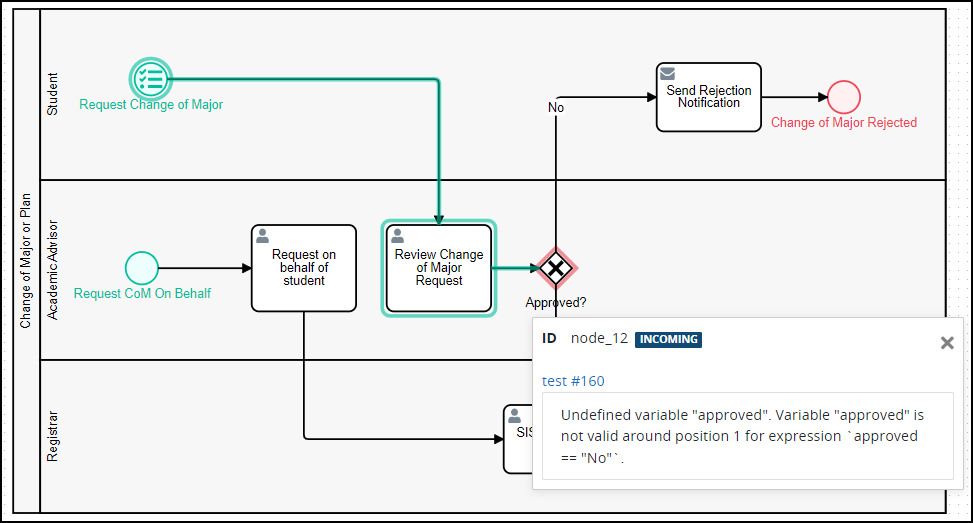
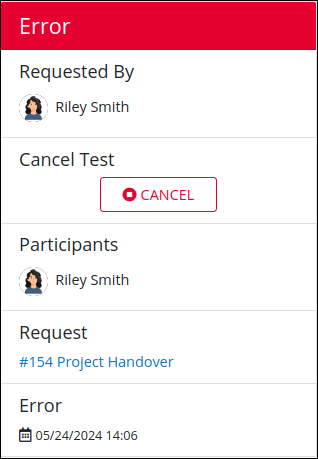
Red: This indicates an error. Hover over the step to review the error.
Cancel a Test Run
Follow these steps to cancel a Test run:
Hover over a task in an in-progress test.
From the task details, click the test number. For example,
test #160to view the currently active task.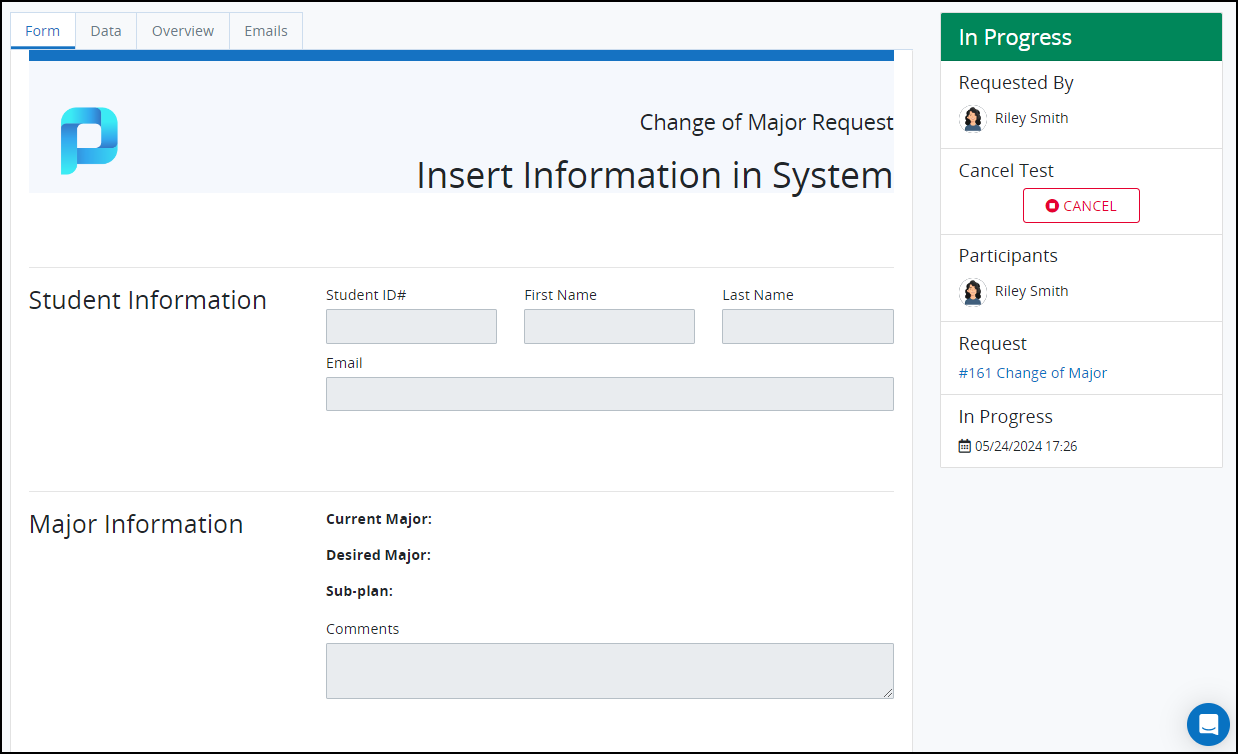
Click the Cancel button in Task summary pane on the right.
A Caution screen displays to confirm the cancellation of the test run.
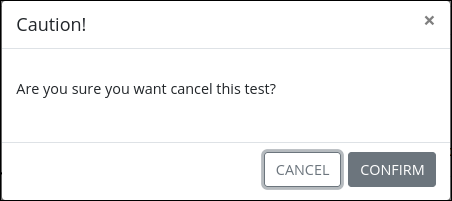
Click Confirm to cancel the test.
Track all Tests for a Process
Follow these steps to track tests for a Process:
Configure general settings for the Process. The Configuration tab displays.
Click the Test Run/Scenarios tab, and then select the Test Run tab.
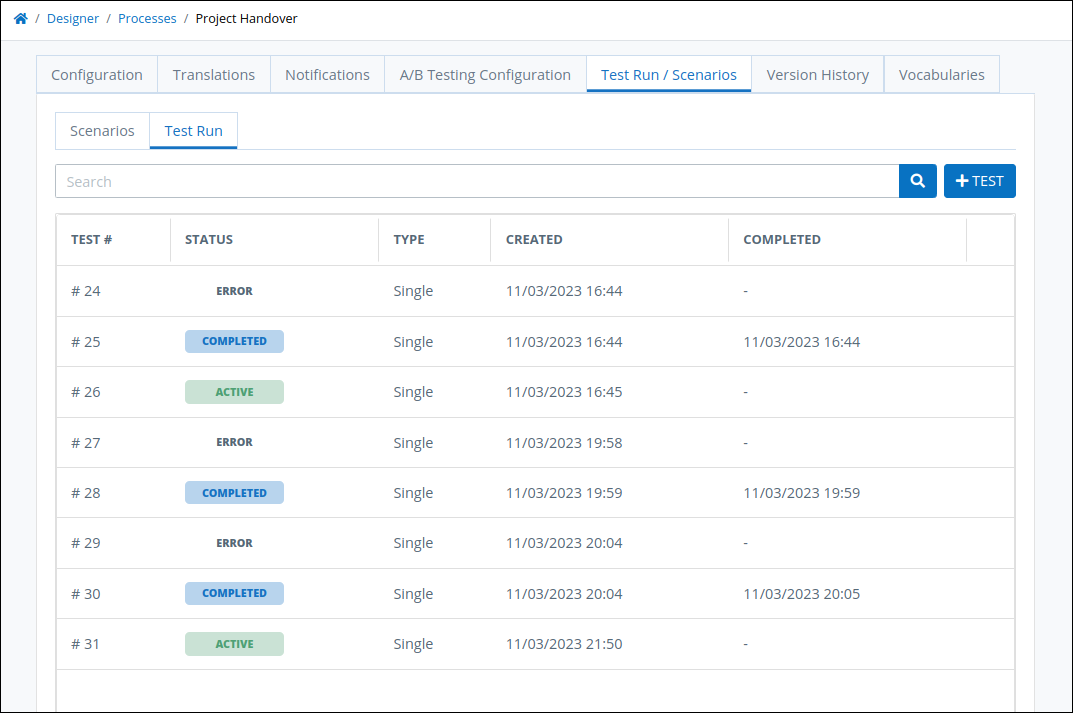
Click on a test to view its details.
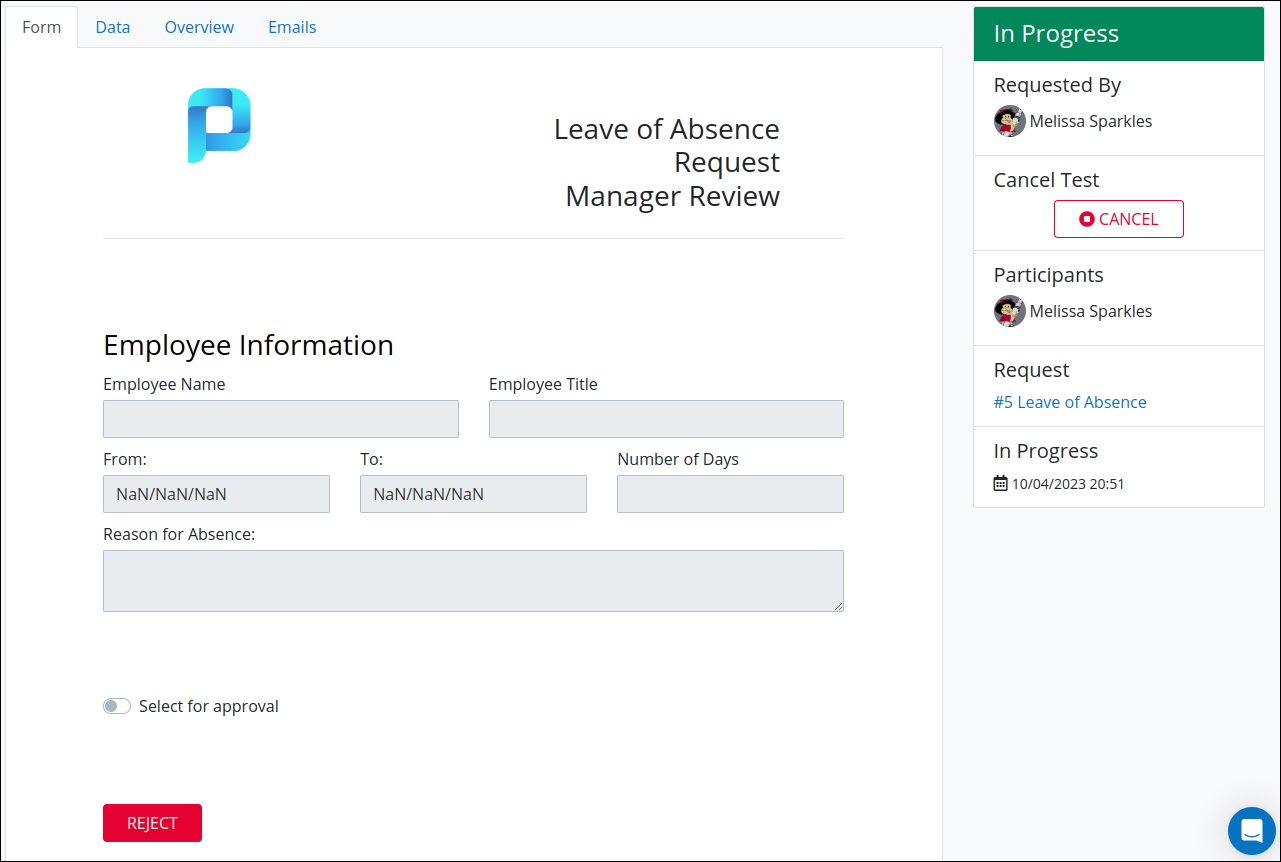
From the Form tab, view or complete Task Forms.
From the Data tab, edit task data.
From the Overview tab, view an in-flight process map.
From the Emails tab, check email data during the test.
The summary panel on right displays details of the test request and provides an option to cancel the test.