Follow an example that uses the Enable Password Protect setting for Web Entries in Start Event elements.
Overview
Intended audience: Process designers, Web designers, graphic designers, software developers
Tags: Exclude Data, Web Entry, Start Event
This example demonstrates how to configure Web Entry in Start Events. This example demonstrates enhanced security by using the Enable Password Protect setting in the Start Event element's Web Entry that requires the Request starter to enter a password to display the Web Entry Screen. This use case can be useful to update this secure-level password every week, for example.
Follow these guidelines to use the Enable Password Protect setting for a Web Entry in a Start Event element:
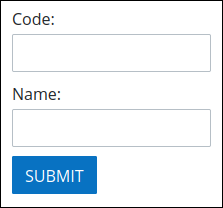
Design a Form-type Screen with two Line Input controls and a Submit Button control.
Use the Variable Name setting values for the Line Input controls as Code and Name respectively as shown below. For this example, exclude the value for the Line Input control that has the Variable Name setting
Code.
Design a Process with the following elements:
Start Event element using Web Entry
Form Task element
End Event element

Assign your created Screen to the Start Event element as Web Entry and the Form Task element.
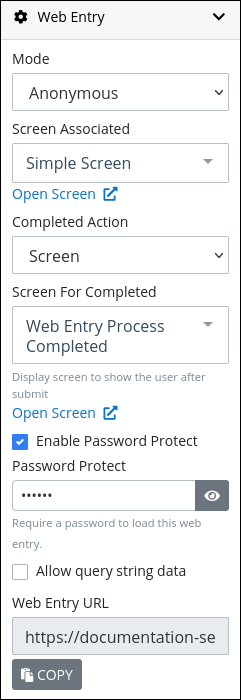
Configure the Web Entry in the Start Event element as follows:
In the Mode setting, select Anonymous.
In the Screen Associated setting, select a screen to display for the Web Entry.
In the Completed Action setting, select Screen.
In the Screen For Completed setting, select a screen after the Web Entry screen submit.
Check the Enable Password Protect setting, the Password Protect setting displays.
In the Password Protect setting, enter a password.
In the Web Entry URL setting, click Copy to use the URL to start a Request.

Start a Request of this Process.
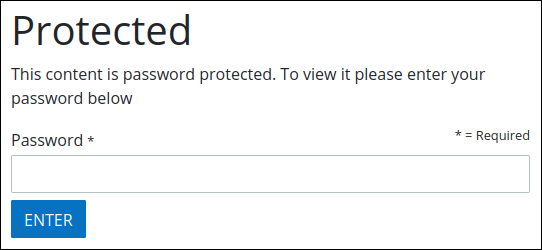
When starting a Request through this Start Event element using the Enable Password Protect option, the Web Entry URL displays the Protected screen to enter the configured password.
