Add Custom CSS to a Screen
Use the Custom CSS mode to add custom CSS styles to a Screen. ProcessMaker Platform supports standard Cascading Style Sheet language (CSS) syntax.
Permissions
Your user account or group membership must have the following permissions to add custom CSS to a Screen unless your user account has the Make this user a Super Admin setting selected:
Screens: Edit Screens
Screens: View Screens
See the Screens permissions or ask your Administrator for assistance.
Follow these steps to add custom CSS to a Screen:
Open the Screen in which to add custom CSS. The Screen is in Design mode.
Click the Custom CSS button
 . The Custom CSS screen displays.
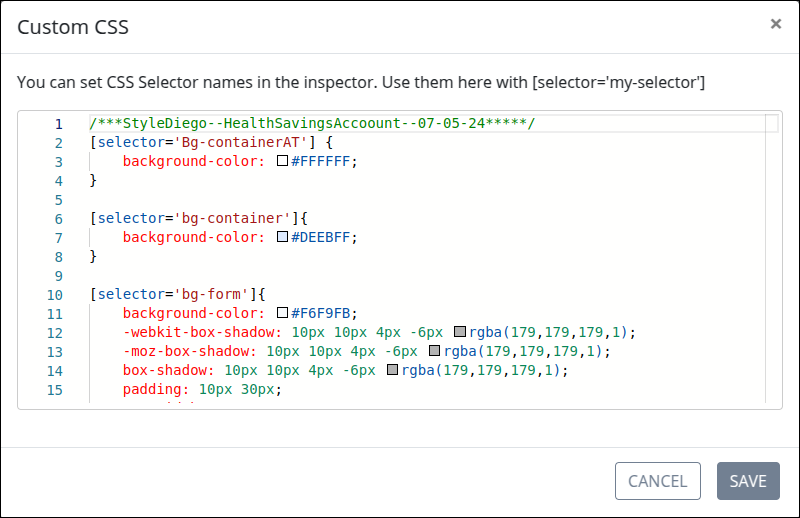
Enter your custom CSS syntax.
Optionally, reference the CSS Selector Name setting value for specific Screen controls to indicate that CSS styling applies to those controls. Enter the value to represent this control in custom CSS syntax when in Custom CSS mode. The reference is case sensitive in the CSS syntax. See Apply CSS to Specific Screen Controls. Example:
[selector='Submit Form'].Address any syntax errors or changes as necessary, then click Save.
Click the Preview button to view your CSS syntax for your Screen in Preview mode. Custom CSS does not display in Design mode.
Click the Design button to return to Design mode, and then repeat Steps 2 through 6 as necessary.
Visibility Rules Override Custom CSS
When a Screen control is hidden by default using custom CSS, but a visibility rule sets it to be visible, the visibility rule takes precedence and displays the control. Use visibility rules—not custom CSS—to hide controls by default, ensuring consistent behavior and easier maintenance.
Need to Learn CSS?
Start with W3School's free CSS tutorial.
Follow a tutorial in ProcessMaker University.
Customize CSS Styling Using Wildcards
Use standard Cascading Style Sheet language (CSS) syntax as well as wildcards to customize CSS styles for ProcessMaker Screen controls.
Apply CSS to Specific ProcessMaker Screen Controls
Use the following syntax to apply CSS styling to a specific control in this Screen by referencing its CSS Selector Name setting value. Use single quotes (') around the control reference. The reference is case sensitive in the CSS syntax. As a best practice, use the same CSS Selector Name setting value on different controls of the same type to apply the same custom CSS style to all those controls.
[selector='CSS Selector Name Setting that is case sensitive']
Example for a Screen control with the CSS Selector Name setting value of Submit Form:
/ * Style a control by referencing its CSS Selector Name setting value * /
[selector='Submit Form'] {
    color: blueviolet;
}
Apply CSS to All Pages in a Screen
Use div.page to apply CSS styling to all pages in a Screen.
Example:
/* Setting CSS for all pages on a Screen */
div.page{
    background-color: lightblue;
}
Apply CSS to Make Form-Type Screens Read Only
A common use case is to make existing Form-type Screen controls read-only by using the Read Only setting for controls that have this setting. Instead, accomplish this with the Input CSS class.
input[type=text] {
    pointer-events: none;
    background-color: lightgrey;
}
Also use a Nested Screen control in combination of a Multicolumn/Table control to reference all inputs inside of the Multicolumn/Table control, which is multi in the example below.
[selector='multi'] input {
    pointer-events: none;
    background-color: lightgrey;
}
Apply CSS to a Select List Control
CSS example for styling a Select List field (with the CSS Selector Name set to select) to display the options in a horizontal layout.
[selector = 'select'] div {display: inline}