Configure SSO settings for Keycloak.
Configure Keycloak SSO Settings
Permissions
Furthermore, your user account or group membership must have the "Settings: Update Settings" permission to edit SSO SAML settings unless your user account has the Make this user a Super Admin setting selected.
See the Settings permissions or ask your Administrator for assistance.
The following information is required to configure SSO with Keycloak:
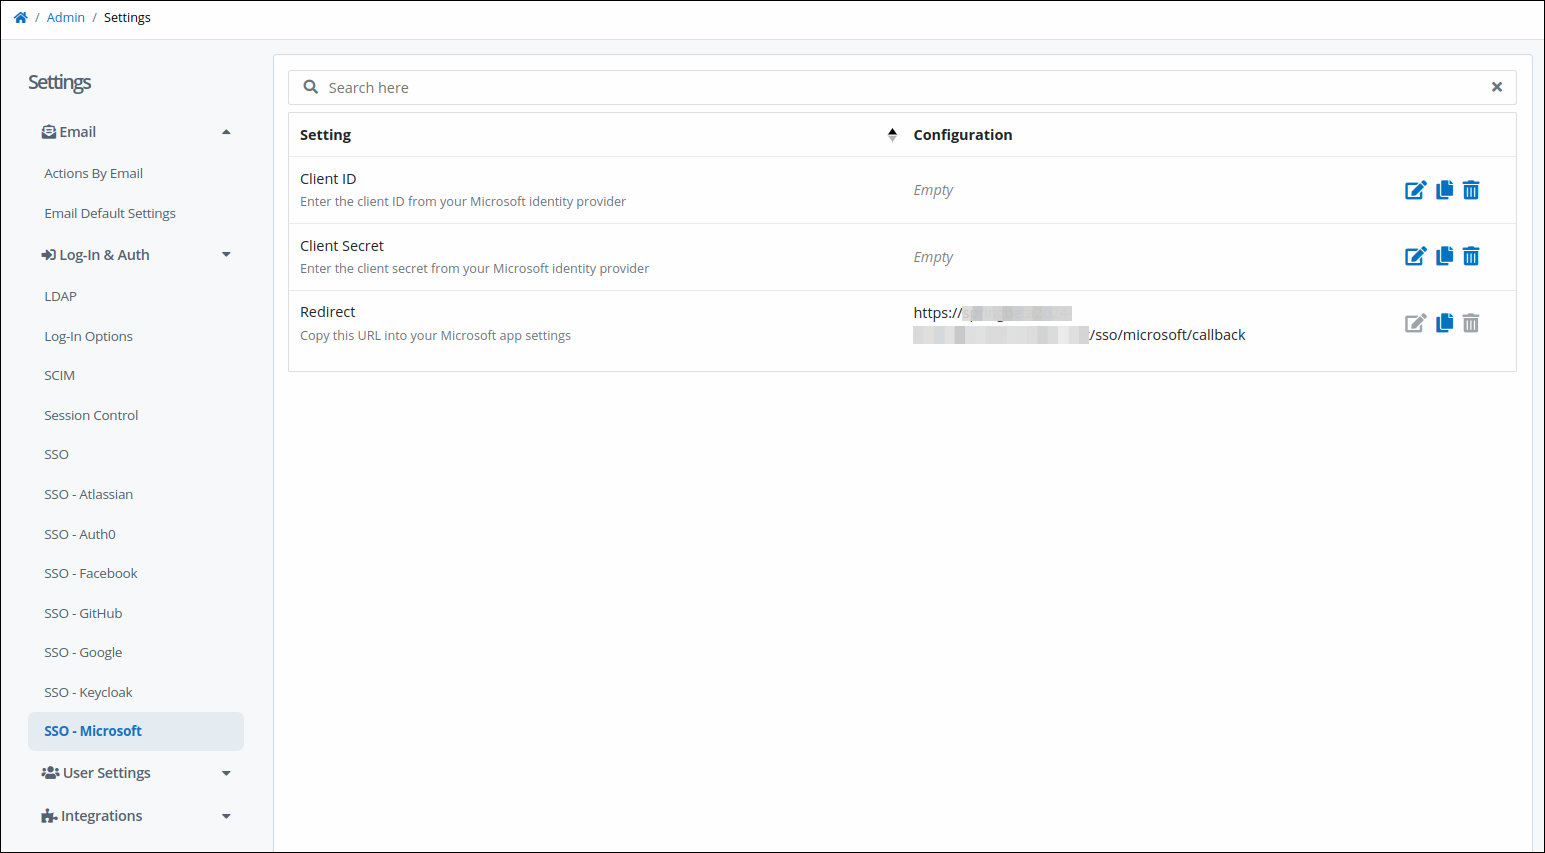
Base URL
Client ID
Client Secret
Realm
To generate or locate this information, refer to Keycloak Server Administration.
See an example in the following video showing how to configure Keycloak SSO settings.
Intended audience: System administrators and Process designers
Viewing time: 3 minutes; contains narration
Keycloak SSO configuration
Configure the following Keycloak SSO settings as necessary:
From the list of SSO identity providers, select the Keycloak option. The SSO - Keycloak panel displays.
Click the Edit icon
 for the Base URL setting. The Base URL screen displays.
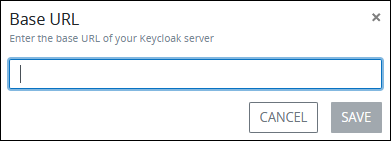
Enter your Keycloak base URL, and then click Save.
Click the Edit icon
for the Client ID setting. The Client ID screen displays.
Enter your Keycloak client ID, and then click Save.
Click the Edit icon
for the Client Secret setting. The Client Secret screen displays. 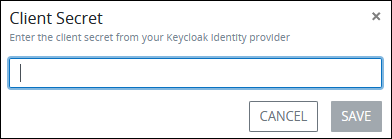
Enter your Keycloak client secret, and then click Save.
Click the Edit icon
for the Realm setting. The Realm screen displays.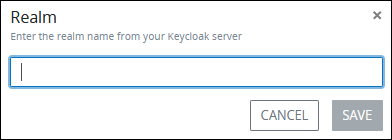
Enter your Keycloak realm, and then click Save.
Use the copy icon
 to copy the URL from the Redirect setting, and then provide it in your Keycloak Admin Console.