Filter Information in Task and Case Lists
Task list and Case list can be filtered using several criteria. Watch the following product tour to learn how to create filters and find the tasks you need:
Follow these steps to filter your case or task list:
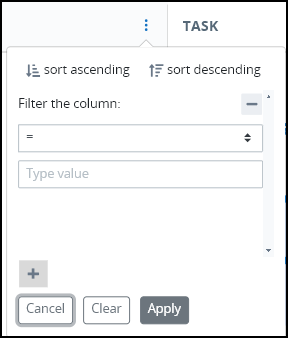
Hover over a column header, and click the three dots. This opens a window displaying the filter criteria.
.png "image(80).png")
Click sort ascending to sort data in alphanumeric order or sort in chronological order if the data is dates/times.
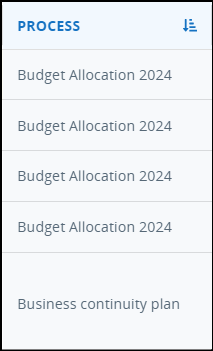
Click sort descending to sort data in alphanumeric descending order or sort in inverse chronological order if the data is dates/times.
In the Filter the column section, from the Operator setting, select one of the following according to the data type:
If the column data type is a number or a date, select of these operators: =, <, <=, >, >=, between, in, contains, regex.
If the column data type is a string, select one of these operators: =, in, contains, regex.
If the column is a task status, select one of these operators: =, in.
In the Type value setting, enter the criteria for the filter. For example, the process or recipient name.
Click + to add a filter column. Then, select And or Or from the Select an Operator setting.
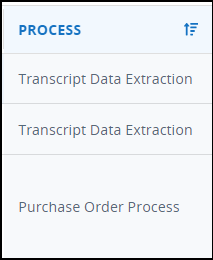
Click Apply to filter the Case or Task list based on the selected criteria. For example, if you filter for processes containing the word
purchase, the results display as follows: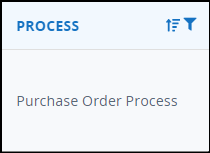
Otherwise, click Cancel to close the window without any changes.
Click Clear to remove all previous filters.
From the case list, a filter can not be created on the Task column.
How to use Regex?
Regular expressions, or regex, are patterns composed of characters and symbols used to find specific sequences in text. For an introduction to regex syntax, check out this primer. To practice and refine your regex skills, RegExr is an excellent tool, offering interactive examples and a platform for testing your patterns.
Follow these steps to filter cases that have a number in their process name.
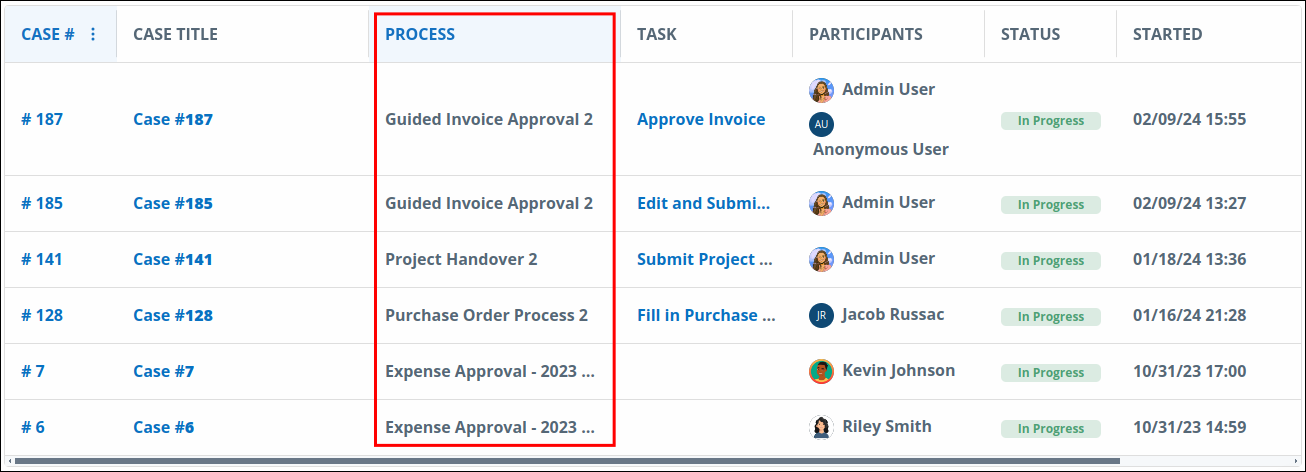
From a list of cases, go to the Process column.
Click the ellipses to the left of the column to view filter options.
From the Operator setting, select regex.
In the Type value setting, enter the regex pattern
\d.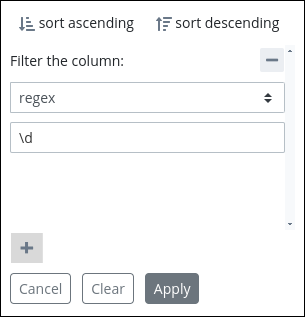
Only process with a number in their are displayed.
Follow these steps to filter cases that start with 12 in the case number.
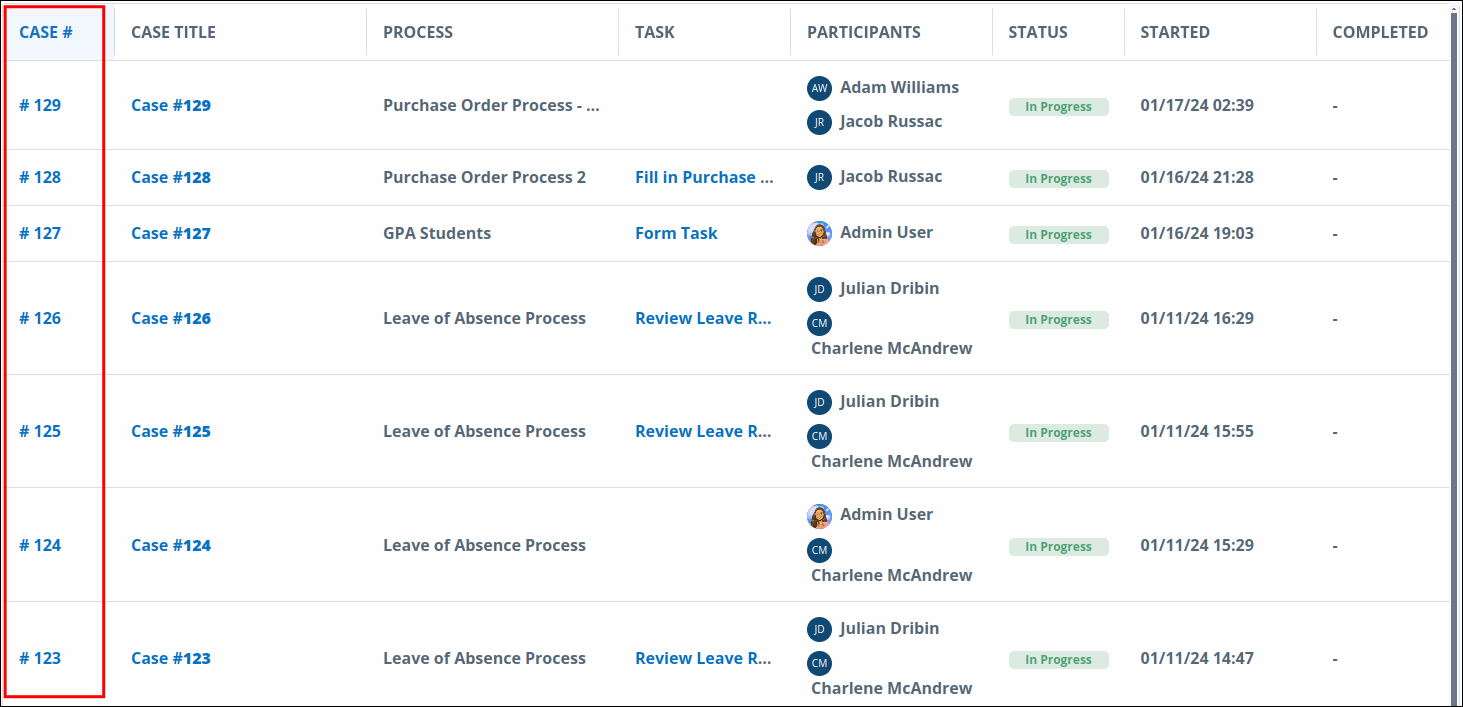
From a list of cases, go to the Case # column.
From the Operator setting, select regex.
In the Type value setting, enter the regex pattern
(12)+.
All case numbers starting with 12 are displayed.
Reset Columns in Case List
The Reset Columns feature allows users to quickly revert any changes made to the column configuration in the Case list and restore the default layout. This improves workflow efficiency by eliminating the need to manually undo adjustments such as resizing, rearranging, or hiding columns.
This option only resets column configurations (order, width, visibility). It does not affect a Saved Search or data within the Case list.
Follow these steps to restore the Case list to its default settings:
View your Case list.
Modify the list by resizing, hiding, or rearranging the columns to suit your preferences.
Click the ellipses to the left of a column header to view filtering options.
Click on Reset Table to restore default settings.
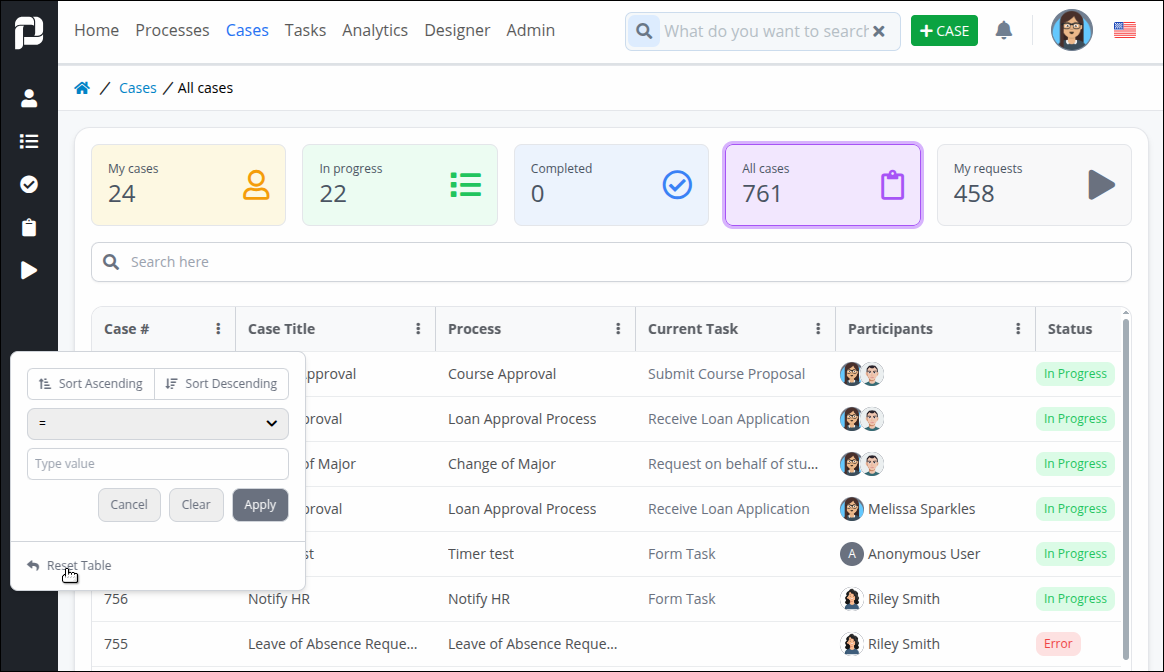
The table will immediately return to its original default layout.
Customize Task and Case Lists
Learn how to add/remove columns from Task and Case lists effectively by customizing icons, columns, and sharing options.
Permissions
Your user account or group membership must have the following permissions to display the Configure icon![]() :
:
These permissions are enabled by default for all new user accounts. A user account with Super Admin permissions also has these permissions.
Follow these steps to customize your case or task list:
Click the Configure icon
 at the top right of the list. The Configuration tab displays.
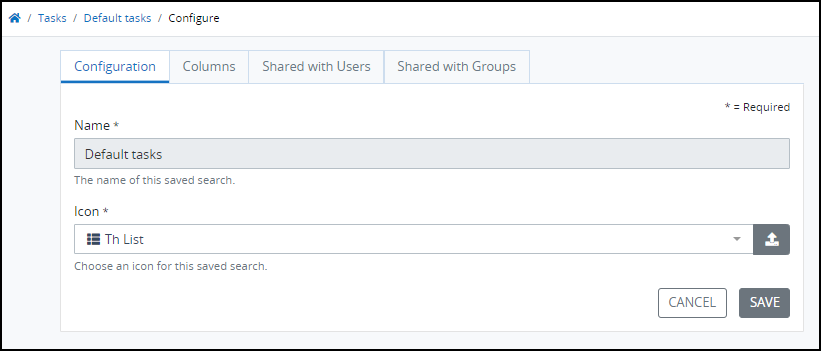
Edit the following information in the Configuration tab about your list as necessary:
Name: The Name setting displays the name of your list.
Icon: Click the Icon drop-down menu to select one of the available images. Otherwise, use the Upload Custom Icon button to use a custom image. Note: The icon must not be larger than 2 KB.
Click Save.
Configure the Columns
Follow these steps to add/remove columns from the list:
Select the Columns tab to view active and available columns.
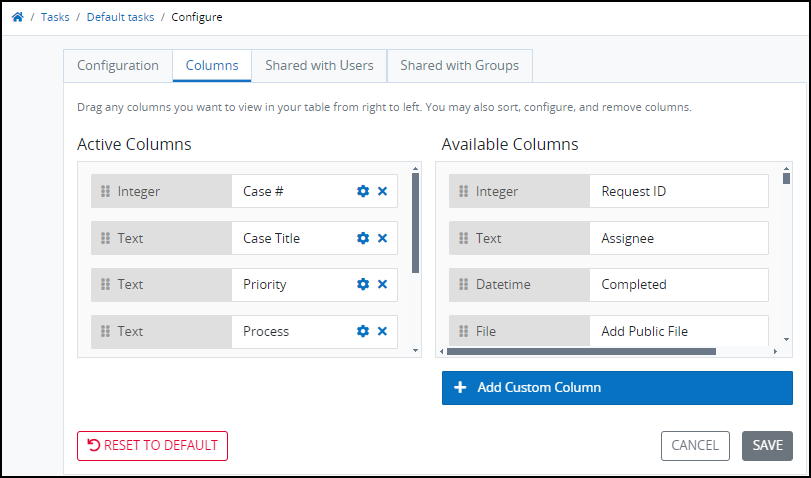
The Active Columns section shows the columns currently displayed in the case/task list. The order from top to bottom in this section corresponds to the left to right order in the case/task list.
Click the
 icon to remove a column from the Active Columns list.
 To add a new column, drag it over from the Available Columns list.
Click, hold, and move active and available columns up or down to change their order in the list.
Edit a Column
Click the Configuration icon
 next to a column name in the Active Columns list.
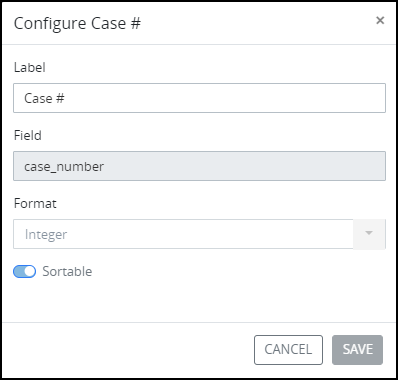
In the Label setting, edit the column label to display as the column header.
When editing a default column, such as Case #, additional settings are read-only. For custom columns, you can modify the following settings:
In the Field setting, edit the key name that represents the value of this column in Case data. The
data.prefix indicates that what follows is derived from Case data. To find the necessary key name, view the Data tab in the summary of a completed Case. For example, usedata.employeeIdfor a case variable named employeeid.From the Format dropdown, select the data type of the column.
Use the Sortable toggle key to adjust whether the column can be sorted in search results.
Click Save.
Add a custom column
Use the Add Custom Column screen to add a column that is not displayed in the list.
Click the Add Custom Column button at the bottom of the Available Columns list.
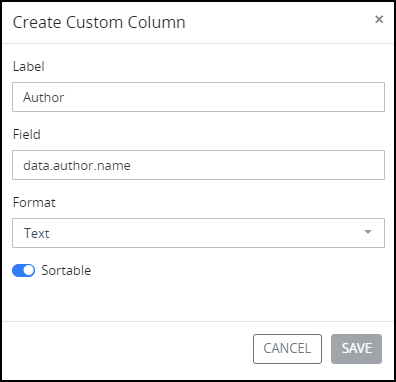
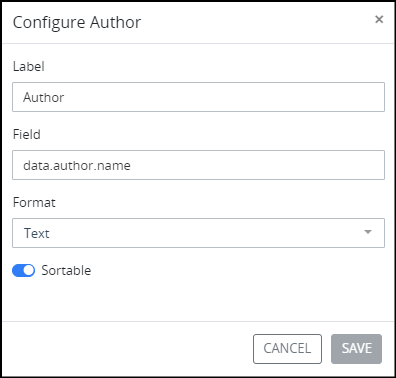
In the Label setting, edit the column label to display as the column header.
In the Field setting, edit the key name that represents the value of this column in Case data. The
data.prefix indicates that what follows is derived from Case data. To find the necessary key name, view the Data tab in the summary of a completed Case. For example, usedata.author.namefor a case variable named "name".From the Format dropdown, select the data type of the column.
Use the Sortable toggle key to adjust whether the column can be sorted in search results.
Click Save.
Reset the columns
If it is necessary to reset the columns in your list to the default layout, click the Reset to Default button located at the bottom left. Doing so displays the Reset to Default screen.
.png "image(78).png")
Click Confirm.
Share with Users and Groups
Follow these steps to share the customized case/task list with other users or groups:
Click the Shared with Users tab.
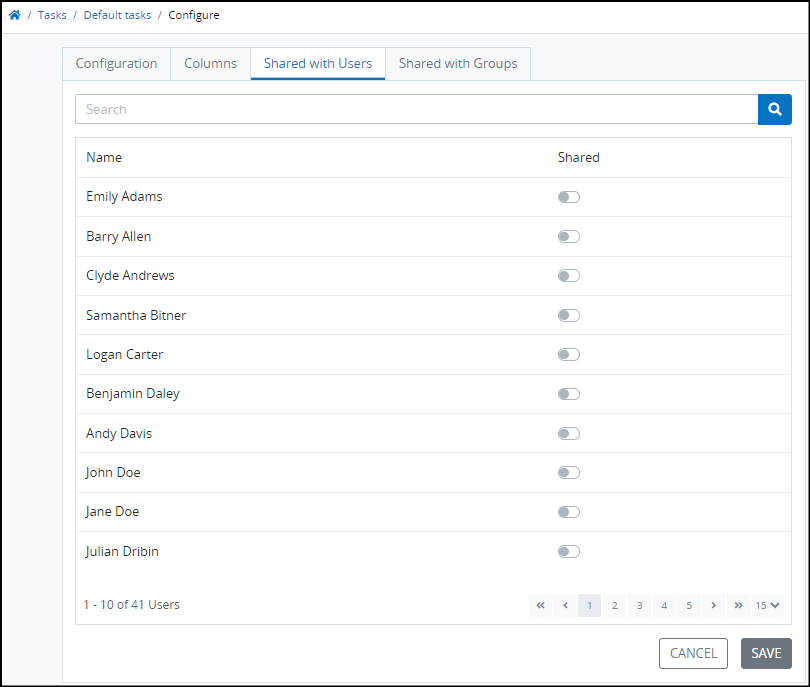
Adjust the toggle for each user you want to share your list with. When the toggle key is enabled, the user can use your list, but cannot configure, hide, or delete it.
Click Save.
Click the Shared with Groups tab.
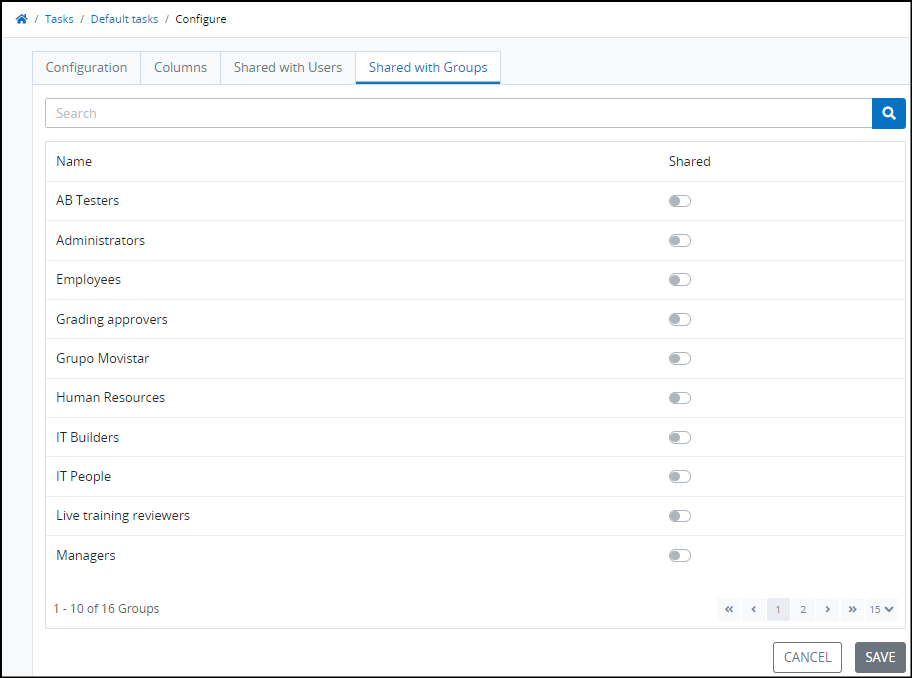
Adjust the toggle for each user you want to share your list with. When the toggle key is enabled, the user can use your list, but cannot configure, hide, or delete it.
Click Save.