When a project is created, the creator is automatically assigned as the Project Owner. The Project Owner or a Super Admin can easily transfer ownership to another user ensuring flexibility when roles or responsibilities change within an organization. Once ownership is transferred, the former owner becomes a regular member and retains the ability to contribute to the project but no longer has administrative privileges.
Only Super Admins and the Project Owners can transfer project ownership.
Only one user can be the project owner at a time, but ownership can be transferred to another member.
In the event that the project owner leaves, a Super Admin can transfer ownership to another project member.
Only Project Owners have the authority to modify project configurations.
Change Project Ownership
Follow these steps to change the owner of a project:
Permissions
Your user account or group membership must have the "Projects: View Projects" permission to transfer project ownership unless your user account has the Make this user a Super Admin setting selected.
This permission is enabled by default for all user accounts. Note that you can only invite users to Projects in which you are a member or which you created. If you cannot do so, see the Projects permissions or ask your Administrator for assistance.
View all projects, and click on a project name to open it.
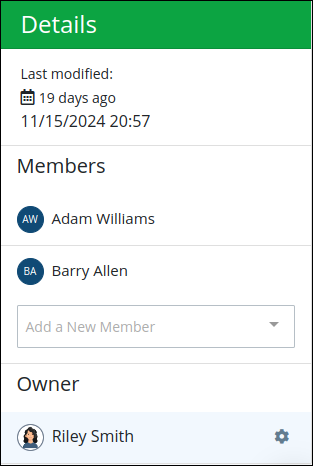
In the Project Details → Owner section on the right, hover over the owner and then click the
 icon. If this setting is not visible, you are not the designated Project Owner. Only Project Owners can assign a new owner.
From the Change Project Owner window, select the new owner.
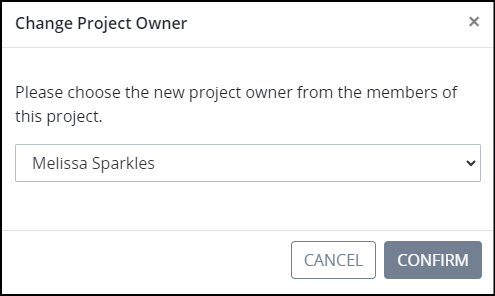
Click Confirm. After confirming, the selected member becomes the new project owner, inheriting all related responsibilities and permissions.
Invite New Members to a Project
Permissions
Your user account or group membership must have the "Projects: View Projects" permission to invite new members to a Project unless your user account has the Make this user a Super Admin setting selected.
This permission is enabled by default for all user accounts. Note that you can only invite users to Projects in which you are a member or which you created. If you cannot do so, see the Projects permissions or ask your Administrator for assistance.
Only the Project Owner can invite new members to a project. This maintains security by preventing unauthorized individuals from joining without the owner’s approval.
Follow these steps to invite new members to a Project:
View all projects, and click on a project name to open it.
In the Project Details → Members setting on the right, select which user(s) or groups to invite to this Project. When inviting a group, all members of that group are invited to that Project.
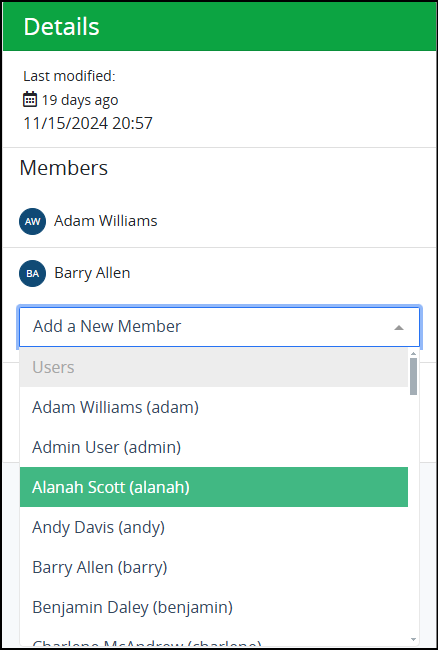
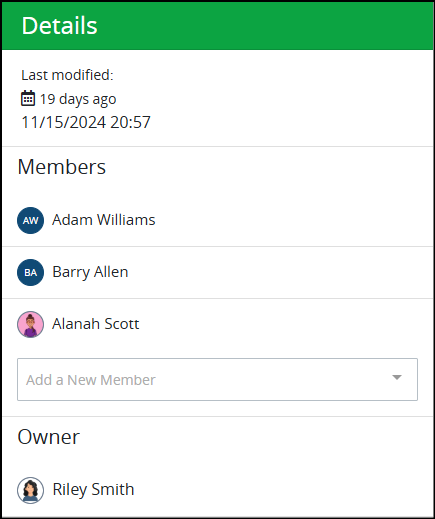
The user is added to the project, and a notification sent.
Remove Members from a Project
Project owners can remove users from a project. A user in the following circumstances can no longer view any assets when removed from a Project:
The Project from which that user was removed was the only Project that user was a member. Likewise, this user is not a group member that is a Project member. To address this, that user must be added to at least one Project to view its assets.
That user does not have user or group permissions to work with individual types of assets. To address this, that user must be assigned user and/or group permissions for individual asset types or all permissions.
Permissions
Your user account or group membership must have the "Projects: View Projects" permission to remove members from a Project unless your user account has the Make this user a Super Admin setting selected.
This permission is enabled by default for all user accounts. Note that you can only invite users to Projects in which you are a member or which you created. If you cannot do so, see the Projects permissions or ask your Administrator for assistance.
Only the Project owner can remove members from a project to control access to the project and maintains security by preventing unauthorized individuals from joining without the owner’s approval.
Follow these steps to remove a member from a Project:
View all projects, and click on a project name to open it.
In the Project Details → Members setting on the right, hover over the user to be removed.
Click the Remove icon
 .
. 
A message displays to confirm removal of this Project member.
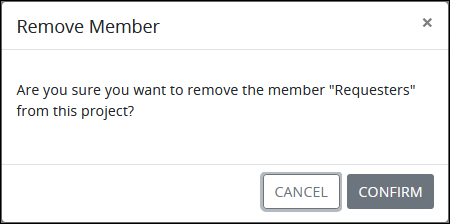
Click Confirm.