Follow an example that uses Screen Builder's built-in functionality to disable a form-submission button until a toggle key is selected (acknowledge the form). This example does not use custom scripts.
Overview
Intended audience: Process designers, Web designers, graphic designers, software developers, coding engineers
Tags: Screen design; Check Box control; Rich Text control; Visibility Rules; HTML
When designing a Screen, it is possible to customize functionality by using custom scripts. However, such customization makes the Screen prone to errors and difficult to support or debug later. Most design needs can be met without custom scripts by simply using the functionality available in the Screen Builder.
Example of Disabling a Button Until a Toggle Key Is Selected
Consider a Screen design that uses the following controls with their respective default display states:
Check Box control: A Check Box control displays by default with the toggle key to acknowledge the terms of the form.
Rich Text control: A Rich Text control displays HTML containing the image of a disabled button until all required information in the form has been entered. The Rich Text control displays by default to appear as a disabled button.
Submit Button control: A Submit Button control remains hidden until the state of the Check Box control is
True. Since the the Check Box control isFALSEby default, the Submit Button control is hidden by default.
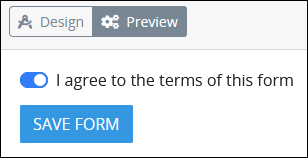
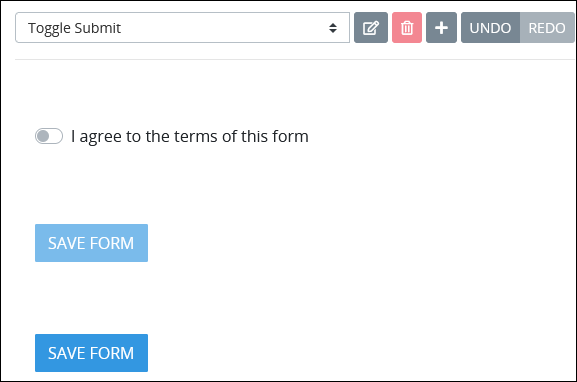
For example, the Save Form button in the following screen appears disabled until the user agrees to the terms of the form.

After the terms are agreed to, the Save Form button enables.
Follow these guidelines to design a Screen with a disabled button until a toggle key is selected. This example does not use a custom script as described in this best practice:
Create a new Screen. The new Screen opens in Design mode.
Add a Check Box control and configure the following settings:
From the Variable panel, enter in the Variable Name setting
i_agree.Enter in the Label setting
I agree to the terms of this form.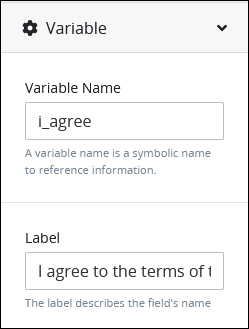
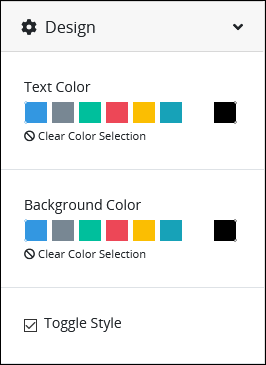
From the Design panel, select the Toggle Style setting.
Add a Rich Text control and configure the following settings:
From the Configuration panel, enter the following HTML in the Content setting:
<span class="btn btn-primary disabled">Save Form</span>. This HTML uses thebtn(button) class to display a disabled button using the same textSAVE FORMas the Submit Button control displays its Label setting value (described below).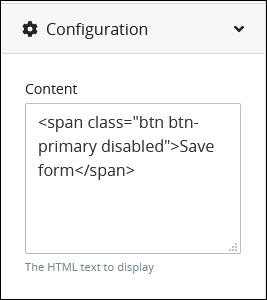
From the Advanced panel, enter in the Visibility Rule setting
i_agree == false. This visibility rule means that the Rich Text control remains hidden while the Check Box control's state remainsFALSE(not selected).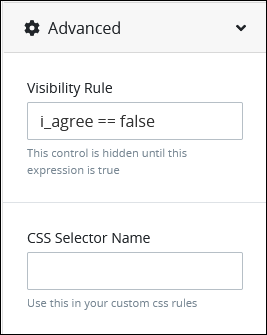
Insert a Submit Button control and configure the following settings:
From the Variable panel, enter in the Label setting
Save Form.
From the Advanced panel, enter in the Visibility Rule setting
i_agree == true. This visibility rule means that the Rich Text control hides while the Check Box control's state becomesTRUE(selected). The Submit Button control displays.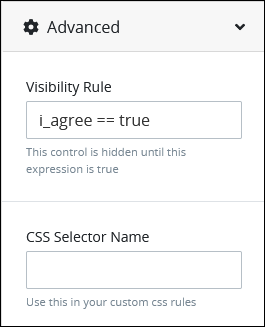
The Screen is now complete. Save your Screen.
Click the Preview icon to test the Screen.