Create a new authenticated client that can access our RESTful API.
Create an Authenticated Client
Permissions
Your user account or group membership must have the following permissions to create an authenticated client unless your user account has the Make this user a Super Admin setting selected:
Auth Clients: Create Auth Clients
Auth Clients: View Auth Clients
See the Auth Clients permissions or ask your Administrator for assistance.
Follow these steps to create an authenticated client that allows that application to access our RESTful API in your instance:
View all authenticated clients. The Auth Clients page displays.
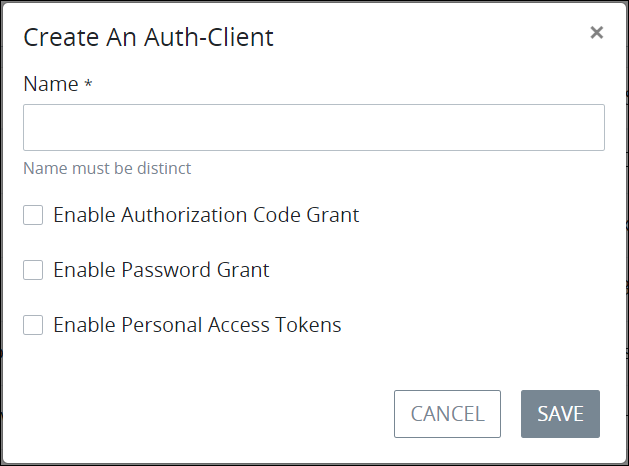
Click the +Auth Client button. The Create Auth-Client screen displays.

Create Auth-Client screen
In the Name setting, enter to whom the client application is granted. This name must be unique from all other authenticated clients. This is a required setting.
Select at least one of the following options to indicate how the client application is being granted access to your RESTful API:
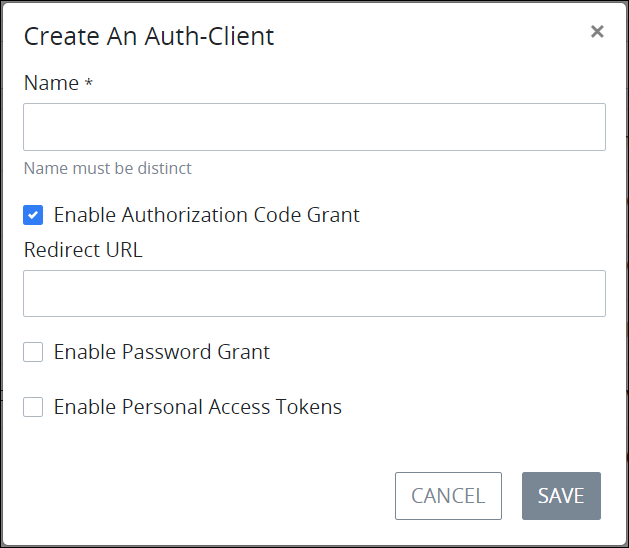
Enable Authorization Code Grant: Select the Enable Authorization Code Grant checkbox to display the Redirect URL setting in this screen to enter the URI or URL where to send the authorized application after it is granted an access token to your API. If this checkbox is not selected, the Redirect URL setting is hidden and that client application cannot access your instance via a redirected URL.

"Enable Authorization Code Grant" setting enabled in the Create Auth-Client screen Enable Password Grant: Select the Enable Password Grant checkbox to authenticate legacy desktop applications which directly send a username and password to receive an access token to your API. If ProcessMaker Platform as the authorization server recognizes these credentials, the authorization server returns an access token to the client application. This authorization method is not as secure because it does not require a callback, so it is not best practice to use this authorization method unless granting the access token to a legacy desktop application.
Enable Personal Access Tokens: Select the Enable Personal Access Tokens checkbox to use a personal access token (PAT) as an alternate password to authenticate the client application into your environment if that application supports its use. The third-party application developer is responsible for creating the PAT.
Click Save. The new authenticated client information displays in the Auth Clients page.